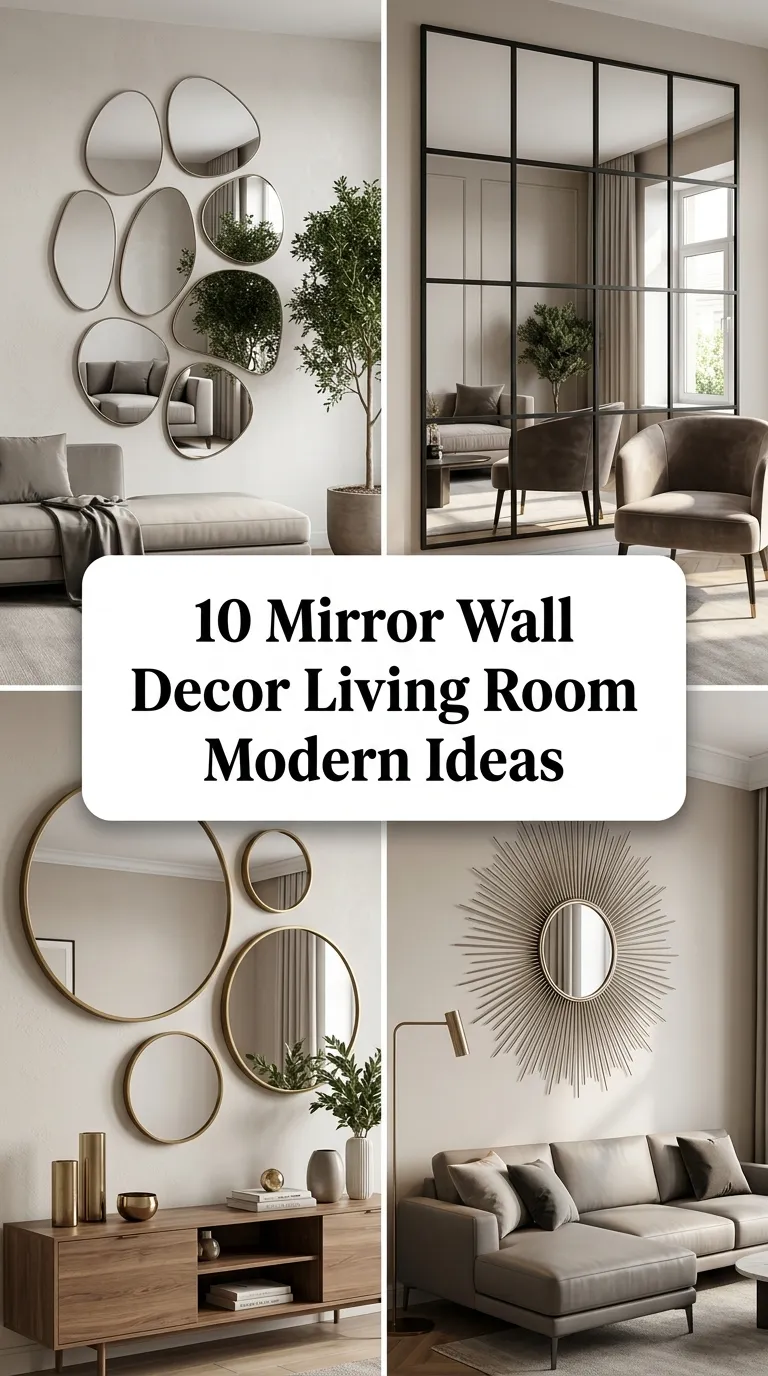
10 Mirror Wall Decor Living Room Modern Ideas
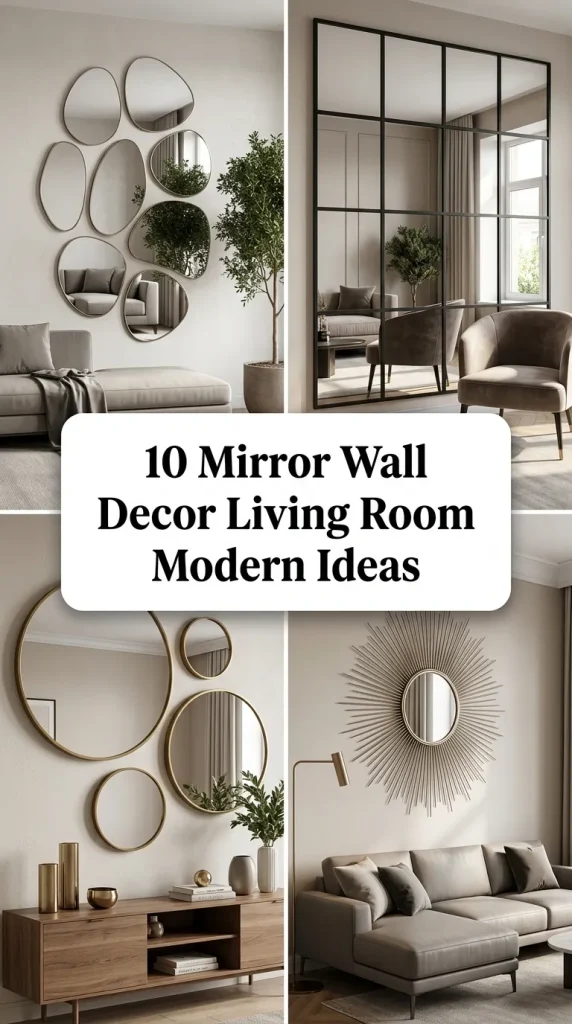
Mirror Wall Decor Living Room Modern Ideas
Incorporating mirrors into a living room layout offers a reliable method for enhancing both natural light and the perception of spatial depth. On platforms like Pinterest, mirror arrangements frequently serve as focal points that bridge the gap between architectural structure and interior styling. Readers will learn how to select, position, and secure various mirror types to optimize their living spaces effectively. Understanding the geometric properties of reflective surfaces helps homeowners manipulate lighting conditions and establish clear visual balance within a room. This guide provides actionable layouts that serve as accessible home decor projects, regardless of existing design expertise. By emphasizing clean lines and intentional placement, these concepts transform plain walls into dynamic architectural features that complement modern design principles.
Modern interior design relies heavily on multifunctional elements that maximize light distribution and create a sense of openness. Mirrors have emerged as trending ideas because they resolve common layout challenges, such as dark corners or narrow proportions, without requiring major structural renovations. The practical value of reflective wall decor lies in its ability to bounce ambient light from windows into deeper zones of the living room. For beginners, a DIY mirror project offers a straightforward way to experiment with scale and symmetry without committing to complex installation processes. This approach combines aesthetic appeal with functional utility, making it an essential consideration for contemporary home organization and planning. Incorporating these elements allows individuals to personalize their environments while maintaining a sleek, modern aesthetic.
Successful execution of a mirror wall project requires careful preparation and the acquisition of specific materials before installation begins. Standard tools include a high-quality bubble level, a measuring tape, heavy-duty wall anchors, a stud finder, and appropriate hanging hardware like picture wire or heavy-duty d-rings. Planning considerations must prioritize wall weight capacities and the locations of wooden studs behind the drywall to ensure long-term structural safety. Measuring the wall dimensions and mapping out the layout using painter’s tape or kraft paper templates prevents alignment errors during the final mounting process. Additionally, cleaning the wall surface and verifying that the chosen hardware matches the weight profile of each mirror guarantees a secure and professional result.
1. Asymmetrical Geometric Clusters
Layout and Assembly Method
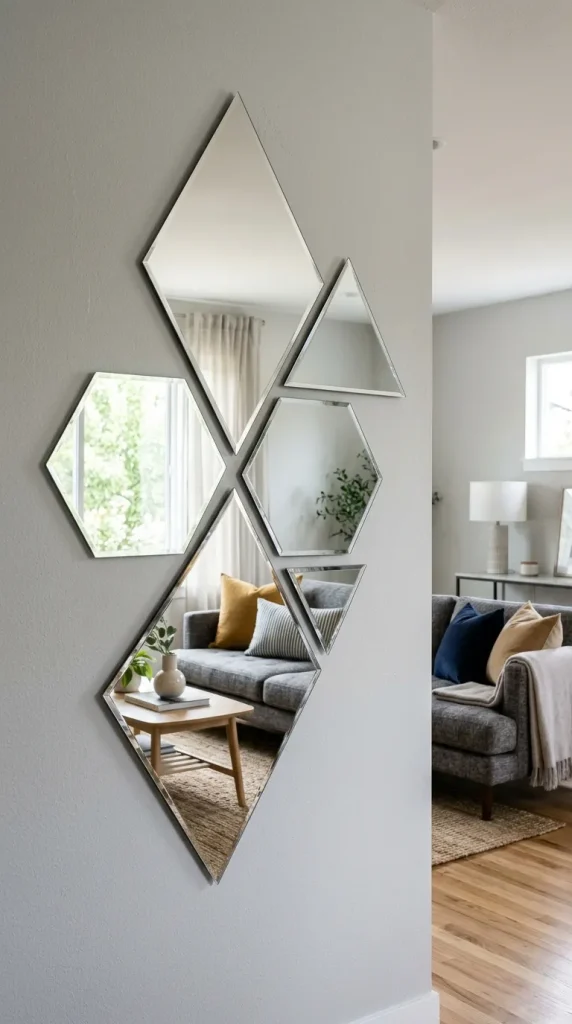
Creating an asymmetrical cluster involves grouping three to five frameless geometric mirrors of varying sizes on a central accent wall. To execute this creative project, start by laying the mirrors face up on the floor to experiment with the interlocking spatial relationships between hexagons, diamonds, or triangles. Maintain a consistent gap of exactly two inches between the edges of adjacent pieces to ensure the cluster reads as a unified installation rather than a random assortment. Use a stud finder to identify safe mounting points, and utilize heavy-duty adhesive mounting strips or low-profile brackets for a completely flush appearance. Position the core grouping at eye level, approximately fifty-seven inches from the floor to the center of the cluster, allowing the peripheral shapes to extend outward naturally. This technique introduces a dynamic rhythm to minimalist style spaces while maintaining clean lines and sophisticated visual boundaries.
2. Oversized Grid Panel Installations
Execution Process
An oversized grid panel utilizes multiple square or rectangular mirrors to simulate the architectural look of a large multi-pane window. Select nine or twelve identical square mirrors with thin black metal frames to establish a precise three-by-three or four-by-three grid matrix above a main sofa. Use a laser level to project a straight horizontal reference line across the wall, ensuring the lowest row sits eight inches above the furniture backrest. Mount each mirror systematically using heavy-duty wall anchors, leaving a strict one-inch margin on all sides of every panel to create a clean window-pane effect. The uniformity of this arrangement provides excellent inspiration for formal living areas, organizing the reflected view into orderly segments that enhance vertical scale. This method works exceptionally well directly opposite primary windows, doubling the perceived natural light within the room.

3. Vertical Linear Extensions
Step-by-Step Guide
Vertical linear extensions employ tall, narrow rectangular mirrors placed side by side to draw the eye upward and heighten low ceilings. Purchase three matching full-length mirrors with minimalist wood frames that match the tone of your flooring or primary furniture pieces. Measure the total width of the wall and mark the exact center point to establish a balanced anchor for the middle reflective panel. Install the central piece first using heavy-duty flush mounts, then position the flanking units exactly three inches to the left and right. This linear alignment creates a continuous band of reflection that mimics architectural pillars or floor-to-ceiling windows. The resulting structure maximizes light bounce along the horizontal plane of the room while adding a structured, gallery-like feel to the modern layout.

4. Floating Round Duos
Setup Method
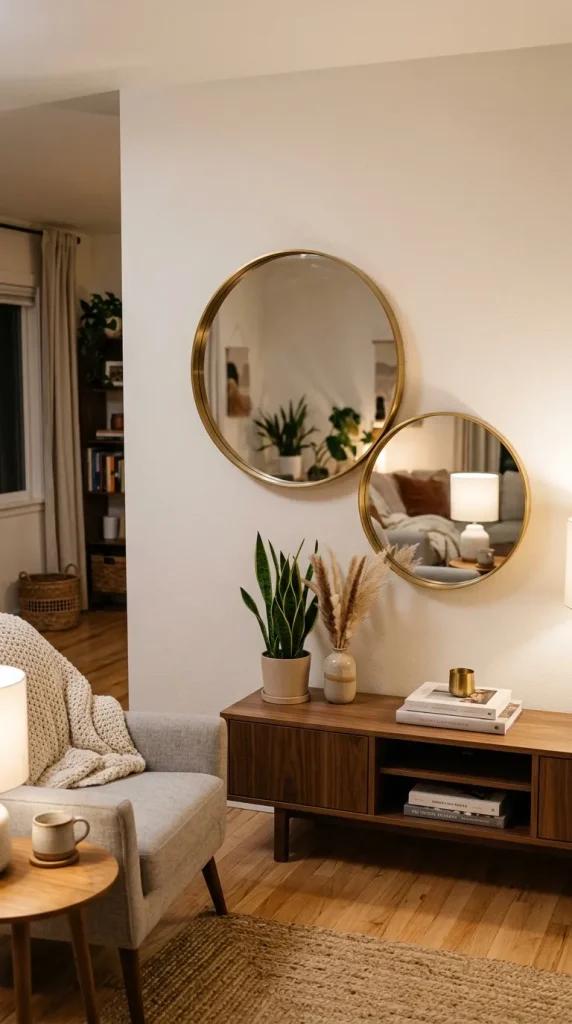
Positioning a pair of large circular mirrors with offset mounting heights creates a sophisticated, fluid focal point on a blank living room wall. Select two round mirrors of unequal diameters, such as one thirty-inch and one twenty-four-inch model, featuring thin brushed brass or matte black rims. Secure the larger mirror slightly off-center relative to your credenza or media console, anchoring it firmly into a wall stud using a heavy-weight d-ring. Mount the smaller mirror adjacent to the first, overlapping their visual fields horizontally while dropping the center point of the smaller piece six inches lower. This intentional asymmetry breaks the rigidity of square rooms and provides excellent DIY decoration that feels both organic and balanced. The curved profiles soften the sharp angles of modern furniture, guiding the eye smoothly across the wall surface.
5. Horizontal Mantel Expansions
How to Create
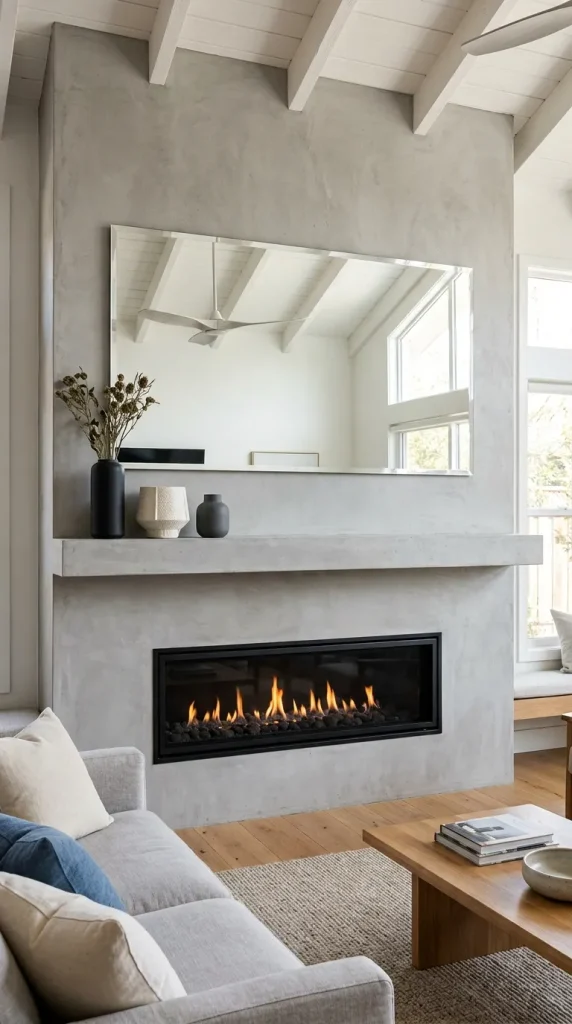
Expanding the visual width of a living room fireplace or low console involves mounting a single, elongated rectangular mirror horizontally. Source a frameless bevel-edged mirror or one with an ultra-thin metallic border that matches the exact width of the shelf below it. Center the mirror precisely over the mantelpiece, leaving a distinct four-inch gap between the bottom edge of the frame and the top of the shelf surface. Use heavy-duty toggle bolts to handle the weight distribution of the long glass sheet, ensuring the piece remains perfectly level across its entire horizontal span. This placement reflects the upper volume of the room, effectively making narrow spaces feel substantially wider and more open. Decorate the surface below with low-profile objects like books or ceramic vessels to prevent blocking the newly established line of sight.
6. Archway Architectural Illusion
How to Make
An arched top mirror creates the visual illusion of a recessed architectural alcove or an additional doorway within a solid wall. Select a tall mirror with a flat base and a semicircular top, framed in a dark powder-coated metal to contrast with light wall paint. Position this piece independently on a narrow wall segment or between two structural windows to create a balanced, symmetrical rhythm across the room. Secure the base roughly twelve inches above the baseboard using robust bottom brackets, and fix the top arch with a concealed anchor to prevent tilting forward. The curved upper silhouette guides the eyes toward the ceiling, while the straight sides ground the installation within the existing room geometry. This easy project introduces classical architectural proportions to contemporary apartments without requiring permanent structural alterations.

7. Frameless Beveled Triptychs
Execution Process
A triptych arrangement relies on three closely spaced, identically sized frameless mirrors with polished beveled edges to create a sleek, continuous reflective ribbon. Secure three rectangular glass panels vertically, side by side, leaving a minimal half-inch gap between their edges to maintain a fluid, uninterrupted reflection. Use specialized mirror clips or heavy-duty specialized adhesive rails that support the bottom and top edges without penetrating the silvering of the glass. The absence of frames allows the panels to blend seamlessly into the wall color, making the installation look like an integrated architectural feature. This minimalist style choice reflects clean, unfragmented views of the room, which enhances the feeling of pure, uncluttered space. It serves as an excellent option for minimalist spaces where frame materials might conflict with existing textures.

8. Offset Gallery Block Layouts
Setup Method
An offset gallery block layout mixes square and rectangular mirrors of various sizes to build a controlled, puzzle-like artistic installation on a prominent wall. Choose five to seven mirrors that share a single unifying characteristic, such as identical frame materials or matching frame depths, to ensure cohesive design. Begin mounting the largest piece slightly below eye level to establish a solid visual anchor, then arrange smaller pieces around it in a clockwise pattern. Maintain a rigid three-inch boundary between all outer frames to keep the cluster looking intentional, organized, and structurally sound. This handmade arrangement mimics a classic art gallery wall but uses light and reflection instead of printed artwork to occupy the negative space. The varying proportions capture different angles of the room, creating an engaging, multi-dimensional view from every seating position.

9. Lean-To Floor Configurations
Step-by-Step Guide
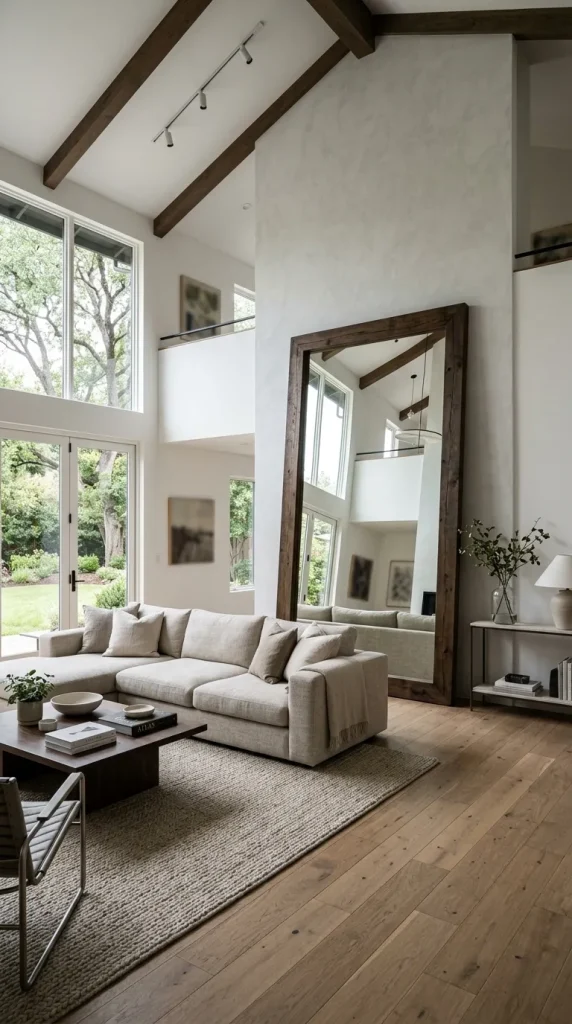
Configuring a massive, oversized mirror to lean safely against the wall provides a relaxed yet commanding design statement in large living areas. Select a substantial mirror measuring at least seventy-two inches in height, featuring a deep, structurally reinforced wooden or metal frame. Position the base of the frame roughly ten to fourteen inches away from the wall, allowing the top to rest securely against the drywall surface. You must install a safety wall anchor kit behind the upper frame, attaching a high-tensile wire from the mirror to a wall stud to prevent tipping forward. This low-slung angle tilts the reflective surface upward, capturing and multiplying the ceiling light while minimizing reflections of low-level floor clutter. The resulting look adds an effortless, architectural scale to the space that anchors large furniture arrangements beautifully.
10. Floating Shelf Reflections
How to Create
Integrating mirrors with floating wooden shelves combines practical storage utility with the light-enhancing benefits of reflective surfaces. Install a long, modern floating shelf at standard mantel height, anchoring it directly into at least two wall studs for maximum weight support. Position a series of three medium-sized round or square mirrors along the top of the shelf, allowing them to lean slightly back against the wall surface. Secure each mirror base to the shelf using small rubber bumpers to prevent sliding, and fix the top frames to the wall using discreet picture hooks. This layering technique allows you to intersperse small indoor plants or ceramic objects between the mirrors, creating depth through overlapping reflections. The combination of warm wood textures and clean glass surfaces introduces an organic, modern balance to contemporary living spaces.

Common Beginner Mistakes and How to Avoid Them
A frequent mistake when installing mirror wall decor is hanging the glass panels too high on the wall, which breaks the visual connection with surrounding furniture. Mirrors should generally be centered around eye level, or placed six to eight inches above a sofa backrest to maintain proportional balance. Another common issue is ignoring what the mirror will actually reflect; placing a large reflective surface directly opposite an unorganized storage area or a blank utility zone multiplies visual clutter. Always verify the reflected view from multiple seating angles before drilling permanent holes into the drywall. Additionally, using inadequate mounting hardware, such as standard nails instead of heavy-duty toggle bolts or stud-mounted screws, poses a significant safety hazard. Taking the time to locate wall studs and matching hardware to the exact weight of the glass ensures a secure installation.
Practical Tips for Better Results
Achieving a professional look with modern mirror installations relies on precise measurement and strict attention to geometric alignment. Use high-quality painter’s tape to map out the exact dimensions of your mirror frames directly onto the wall surface before purchasing or hanging materials. This practice allows you to visualize the scale of the layout and make necessary adjustments to the spacing without damaging the drywall. When working with multi-mirror arrangements, like grids or triptychs, a self-leveling cross-line laser level guarantees that every panel aligns perfectly across both axes. Cleaning the glass with a lint-free microfiber cloth and a dedicated ammonia-free cleaner prior to mounting prevents fingerprints from becoming trapped against the wall during handling. These methodical preparation steps elevate a standard DIY project into a polished, high-end design feature.
Styling, Presentation, or Organization Ideas
Properly styling the area surrounding a mirror wall layout helps integrate the reflective surfaces into the overall design theme of the living room. Position matte-textured objects, such as ceramic vases, matte black lamps, or woven baskets, near the mirrors to create an appealing contrast against the sleek, polished glass. Avoid placing high-gloss furniture or overly complex patterns directly in front of large mirrors, as the combined reflections can cause visual fatigue. If your mirror is mounted above a console table, organize the tabletop surface using the rule of threes, combining items of varying heights to frame the reflection naturally. Introducing organic textures, such as a tall leafy fiddle-leaf fig or dried pampas grass, softens the hard edges of geometric frames and brings natural elements into the reflection.
Budget or Time Planning
Executing a modern mirror project does not require a significant financial investment if you approach the planning phase systematically. Purchasing simple frameless mirrors and adding custom trim or using minimalist clip mounting systems keeps material costs low while achieving a high-end look. A standard single-mirror installation typically requires less than one hour of execution time, including measuring, leveling, and securing the mounting hardware. Complex grid systems or multi-panel gallery layouts generally take three to four hours to measure, align, and safely mount. Allocate a specific portion of your budget toward high-quality wall anchors and safety brackets, as structural integrity is the most important factor of the project. Breaking the project down into separate planning, measuring, and installation phases ensures a stress-free experience with predictable, professional results.
Creative Expansion and Advanced Inspiration
Once you master basic mounting techniques, you can expand your mirror wall installations by incorporating integrated lighting components for enhanced atmosphere. Backlighting a large round or floating mirror with low-voltage LED light strips creates a soft, ambient glow that separates the frame from the wall surface. This advanced technique emphasizes the geometric outline of the mirror and serves as an excellent secondary light source during evening hours. Another progressive design concept involves antiquing the mirror glass using specialized distressing techniques to introduce subtle texture into ultra-modern, minimalist rooms. You can also experiment with tinting, selecting bronze or smoky gray mirror glass to create a moodier tone that reduces glare while maintaining excellent reflective properties. These sophisticated alterations allow homeowners to continuously adapt their spaces, creating custom installations that evolve alongside contemporary interior design trends.