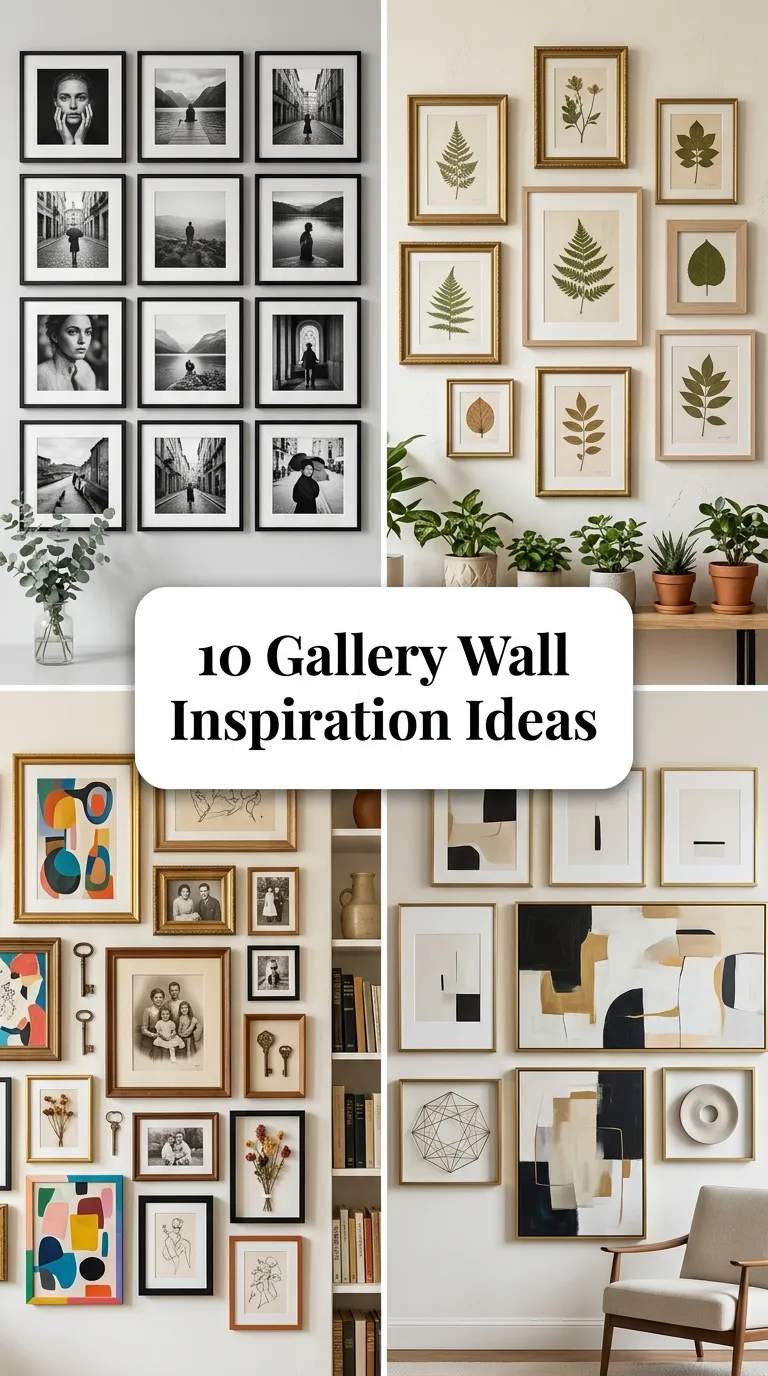
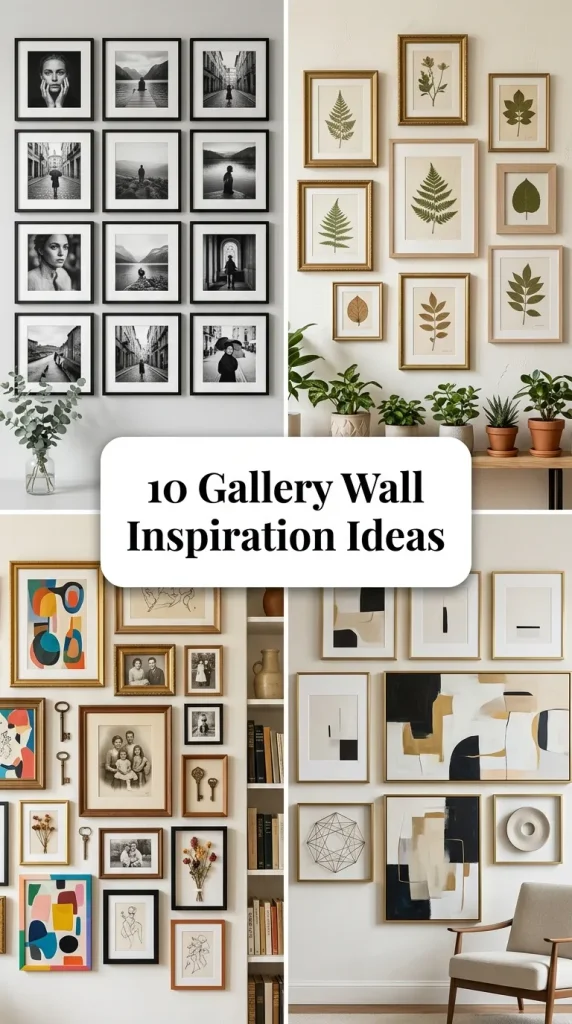
10 Gallery Wall Inspiration Ideas
Curated Perspectives: Exploring 10 Gallery Wall Inspiration Ideas
Transforming an empty wall into a sophisticated focal feature requires a deliberate blend of frame geometry, balanced color dynamics, and precise spatial planning. This comprehensive guide details ten versatile gallery wall inspiration ideas that seamlessly combine artistic expression with high-end interior home decor principles. Readers will learn how to map out balanced configurations, mix diverse textures, manage uniform spacing intervals, and implement hidden lighting grids across their display zones. Whether you are aiming to anchoring a vast open-concept living room or refresh a compact home office corridor, this structured tutorial offers clear, actionable design steps. Understanding how to align your art frames with your existing architectural lines allows you to establish a striking, museum-like sanctuary while making a sophisticated modern design statement. By focusing on symmetrical layout patterns, clean proportions, and disciplined organization methods, anyone can confidently execute a rewarding and highly professional curation project.
Why Curated Art Displays Are Trending
Streamlined, narrative-driven wall arrangements have captured massive attention across modern Pinterest ideas, demonstrating a prominent shift toward mindful, personal expression in home decor. These trending ideas are exceptionally popular because they offer significant practical value, allowing homeowners to group varied artwork, personal photography, and sculptural relics into one cohesive visual zone rather than scattering them haphazardly. The distinct focus on sleek geometric frames, oversized mat boards, and architectural layout grids carries an incredible DIY appeal, enabling individuals to construct a professional-grade display with basic assembly knowledge. This remarkable accessibility for beginners ensures that achieving an upscale, gallery-like atmosphere does not require professional interior designers or expensive custom framing networks. By emphasizing balanced spatial tracks and high-quality minimalist style finishes, these creative concepts prove that a personal art collection can serve as an intensely durable design feature while exuding a sophisticated, calming aesthetic.
Essential Materials and Accent Wall Preparation
Launching a successful gallery wall project requires thorough preparation, accurate surface measurements, and gathering appropriate installation tools before hanging a single frame. Collect your essential workspace equipment, including a standard measuring tape, an electronic stud finder, a digital laser level, heavy-duty painters alignment tape, kraft template paper, a pencil, and damage-free hanging strips or picture hooks. The primary materials needed for a durable, clean setup typically include matching wood or metal matted frames, UV-protected acrylic glass panes, high-contrast flat art prints, clear acrylic ledges, and low-profile mounting hardware. During the initial preparation phase, clear away unnecessary furniture clutter, wipe down the wall surface thoroughly to remove hidden dust, and check for hidden electrical wiring or plumbing lines. Developing a precise layout blueprint on a flat floor grid before mounting ensures your creative project proceeds smoothly from start to finish, preventing accidental wall damage and ensuring all frames hang perfectly level.
Ten Practical Grid and Eclectic Gallery Layouts
Idea 1: The High-Contrast Grid Symmetrical Matrix
Setup Method
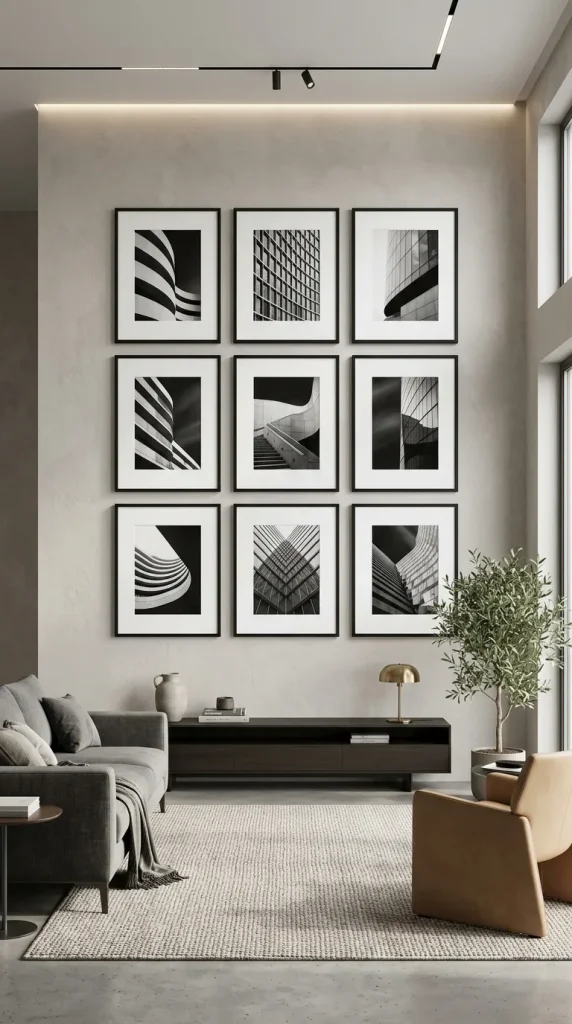
To establish an incredibly clean, timeless silhouette that anchors a contemporary living room layout, assemble a strict, high-contrast symmetrical grid matrix. Select nine identical sixteen-by-twenty-inch matte black aluminum frames, checking that each includes an oversized, bright white acid-free mat board. Print a curated series of monochromatic architectural or botanical photographs, centering each image precisely within the stark white mat window frames. Map out a perfect three-by-three square grid on your primary accent wall using a digital laser level to enforce an exact two-inch spacing track between all frame edges. This easy project delivers an instant museum-like modern design quality, offering sharp geometric lines and perfect structural balance that immediately stabilizes a busy room.
Idea 2: The Linear Floating Acrylic Ledge Row
Step-by-Step Guide
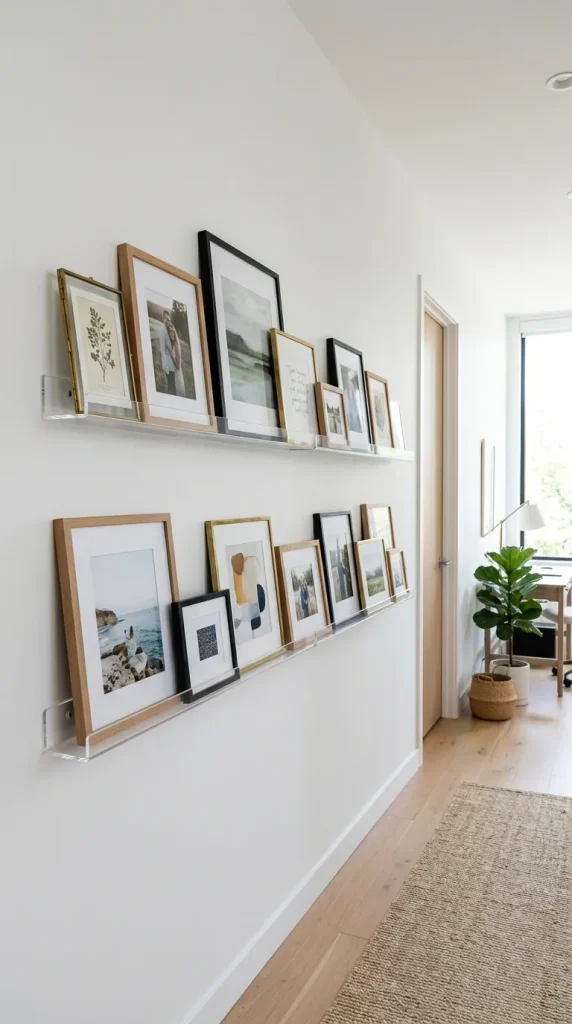
Introduce a dynamic, overlapping perspective to a narrow home office corridor by displaying your art frames across a series of thin, transparent floating acrylic ledges. Secure two long, four-foot clear acrylic picture shelves horizontally into your wall studs using heavy-duty stainless steel toggle screws, checking for perfect level alignment. Arrange an eclectically sized mix of wood, brass, and black frames along the shelves, intentionally overlapping the outer frame borders slightly to create visual layers. This layout permits you to rotate your artwork and personal seasonal photography instantly without ever drilling new holes into your drywall substrate. This highly functional organization technique keeps your vertical boundaries completely flexible while maintaining a clean, weightless minimalist style aesthetic.
Idea 3: The Organic Textural Eclectic Cluster
Execution Process
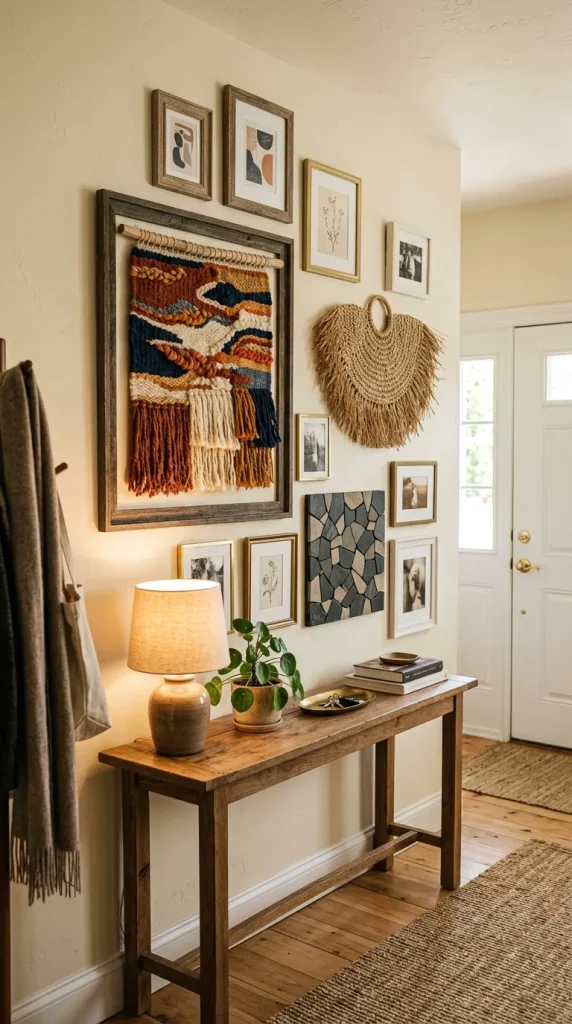
Incorporate rich architectural depth and a highly personalized, handcrafted look into an entryway layout by combining traditional frames with three-dimensional organic sculptures. Establish a dominant centerpiece frame, such as a large oil painting or an abstract textile weave, hanging it slightly off-center along your main viewing tracks. Cluster a loose, asymmetrical array of smaller accent frames around the core asset, systematically interspersing a raw woven seagrass fan, a polished slate tile mosaic, and a shallow woven basket. Maintain a cohesive visual anchor by ensuring every object stays within a strict, dual-tone neutral color palette, such as warm beige and rich charcoal gray colors. This design choice strips away the overly fussy appearance of historical gallery walls, introducing a warm, cozy textile element.
Idea 4: The Monochromatic Floor-to-Ceiling Column
How to Create
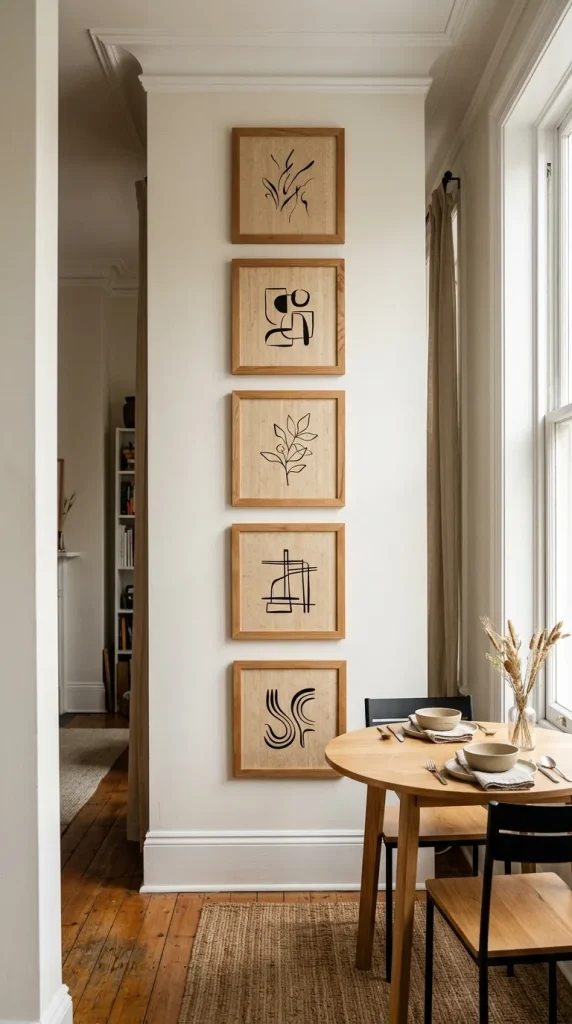
Incorporate an impressive sense of vertical height into a compact dining alcove or a low-ceilinged room by installing a continuous vertical column of uniform art frames. Mount a single, straight vertical row of five matching twelve-by-twelve-inch solid oak wood frames, starting exactly six inches above your baseboard trim line and ending near the ceiling molding track. Fill each frame with minimal, abstract black ink line art stenciled onto unbleached handmade bamboo paper to enforce a strict tone-on-tone color theme. This layout guides the eye upward smoothly across the vertical wall space, utilizing architectural lines to create the optical illusion of grand spatial scale. This beginner friendly easy project instantly softens hard room boundaries while providing clean graphic depth.
Idea 5: The Oversized Asymmetrical Statement Trio
Setup Method
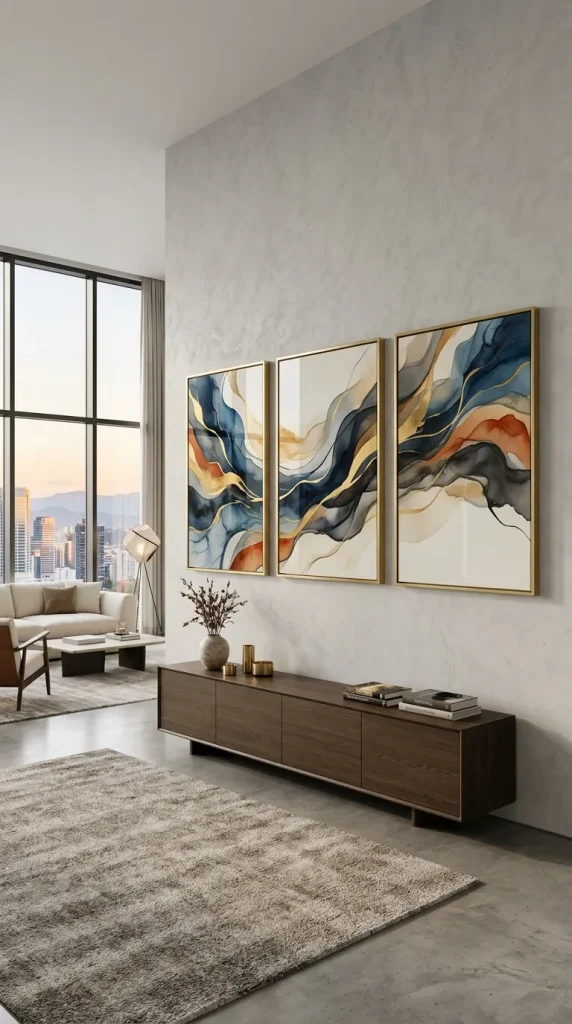
Transform a vast, empty open-concept living room wall entirely by mounting a highly focused triptych configuration consisting of three oversized statement frames. Select three identical twenty-four-by-thirty-six-inch thin-profile brass frames, fitting each with high-grade shatterproof acrylic glass panes to keep the assembly lightweight and safe. Frame three high-definition abstract canvas wraps that share a continuous, flowing brushstroke sequence that travels visually from the first frame straight through to the third panel. Suspend the three massive frames horizontally side by side along your main seating axis, leaving a wide, generous four-inch spacing gap between the frames. This striking centerpiece provides an incredibly luxurious, contemporary look that commands immediate visual attention without requiring a high volume of small pieces.
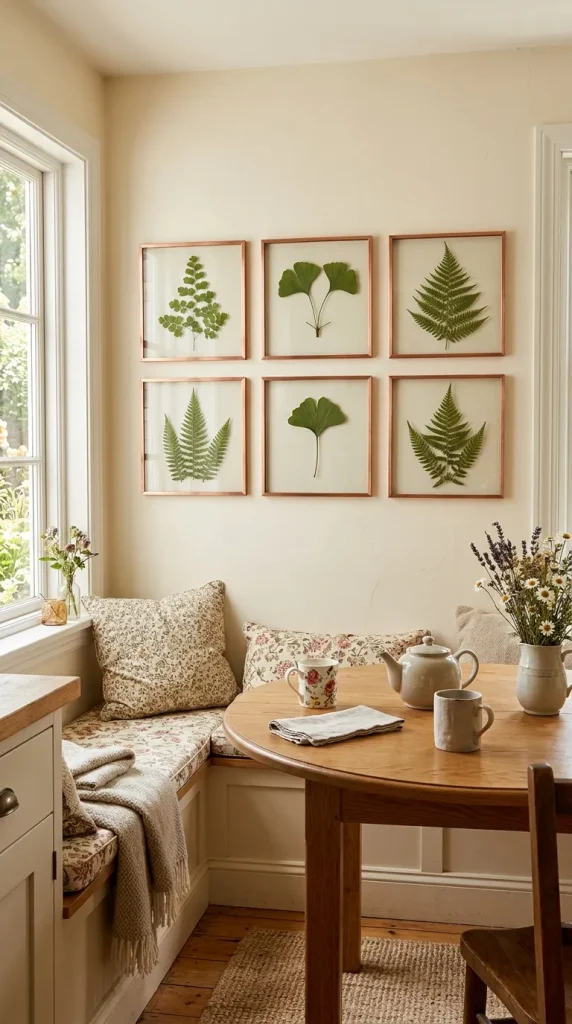
Idea 6: The Botanical Shadow-Box Pressed Flora Grid
Step-by-Step Guide
Introduce instant organic texture and a gallery-like cottagecore atmosphere to a bright kitchen or breakfast nook by constructing a grid of double-paned glass shadow-box frames containing real pressed leaves. Purchase six matching ten-inch square clear glass floating frames featuring slim metallic copper or gold outer border bands. Place a single, perfectly flattened and dried botanical frond—such as a green fern leaf, a ginkgo leaf, or an oak stem—flat between the double glass panes of each frame element. Mount the completed botanical shadow boxes in a clean two-by-three horizontal matrix, utilizing an exact three-inch spacing interval between the plate borders. This organization technique lets the underlying wall paint color pass through the clear glass uninterrupted, making your organic leaf collection look weightless.
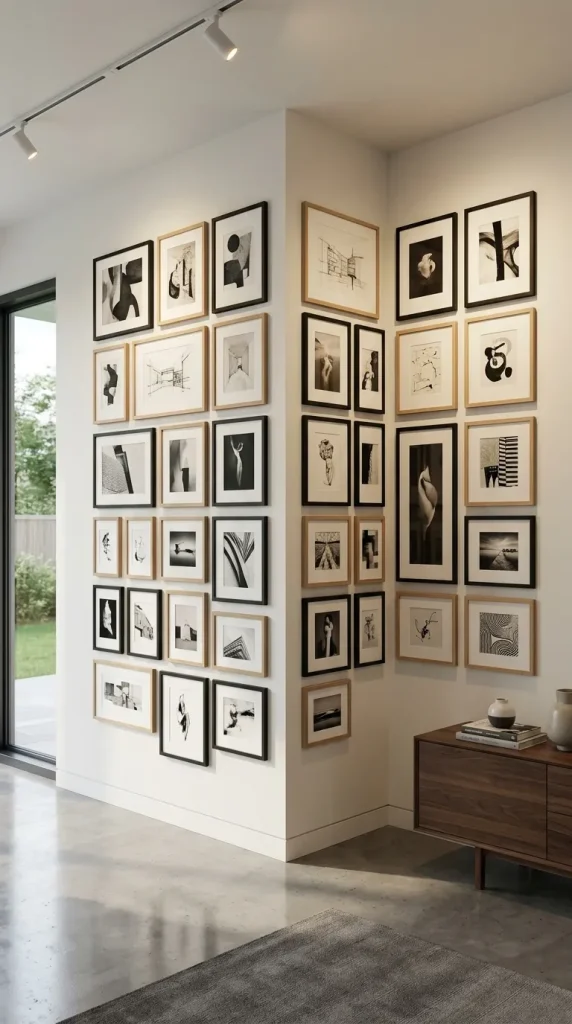
Idea 7: The Recessed Corner L-Shape Wrap
Execution Process
Maximize your available spatial canvas and bridge a structural room intersection beautifully by running a continuous, L-shaped gallery wall layout that wraps around an interior corner. Map out a balanced mix of mid-sized black and natural wood frames, checking that the total visual weight matches evenly on both sides of the wall corner crease line. Position frames sequentially along both intersecting wall faces, allowing the edge frame perimeters to sit exactly three inches away from the inside corner line to prevent a crowded look. This advanced layout layout eliminates the chaotic, isolated appearance of independent wall decorations, pulling two separate architectural planes into a single conversational zone that matches contemporary home decor layouts.
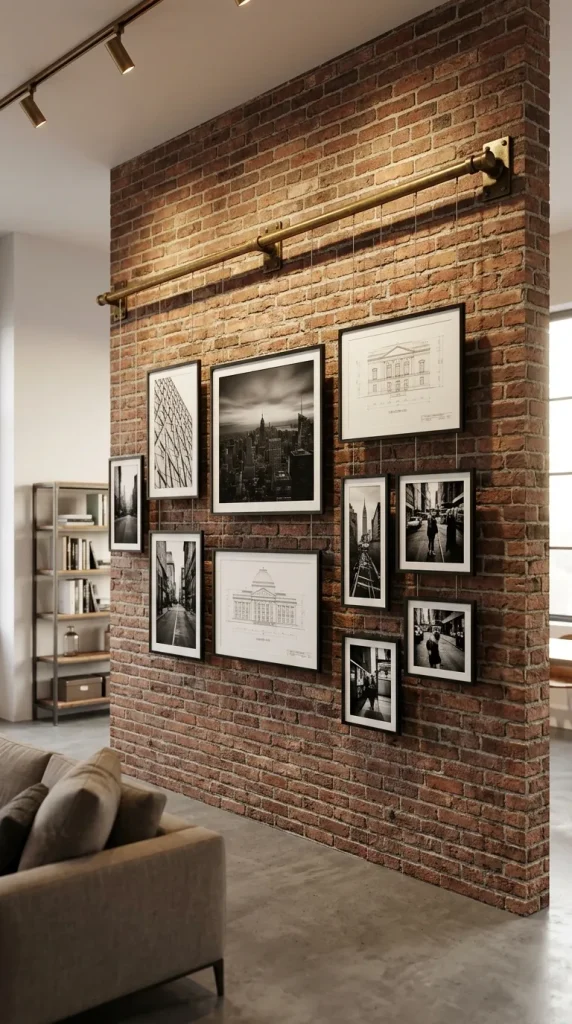
Idea 8: The Industrial Brass Rod Suspension Array
How to Create
Achieve a highly continuous, clean horizontal perspective across an industrial-style brick or masonry accent wall by engineering a functional suspension array using a solid metal rail. Mount a single, heavy-gauge six-foot burnished brass utility rod horizontally along your upper wall valance line using heavy-duty lag bolts driven into studs or mortar joints. Drop thin, high-tensile steel cables down from the main rail line, sliding adjustable brass picture hooks onto the vertical cables to support your frames securely. Suspend a curated collection of architectural drawings and black-and-white cityscapes at varying heights, tightening the set screws on the cable collars to lock positions. This setup eliminates the need for individual wall anchors, creating an upscale gallery aesthetic that can be adjusted effortlessly over time.
Idea 9: The Low-Profile Monochrome Staircase Step
Setup Method
Introduce versatile, multi-level visual movement to a high-traffic home staircase corridor by assembling a perfectly stepped, ascending gallery wall configuration. Choose a series of seven varying rectangular frames wrapped in a uniform finish, such as solid matte white wood, to preserve an unadorned, minimalist style theme. Measure the exact slope angle of your staircase handrail, using a digital laser level to project a matching parallel diagonal guiding line along the drywall surface. Position each individual frame base exactly twenty-four inches above the stair tread tiles, stepping each subsequent frame upward incrementally as the steps climb. This highly organized configuration honors your home’s structural flow beautifully, transforming a functional transit track into an engaging artistic timeline.
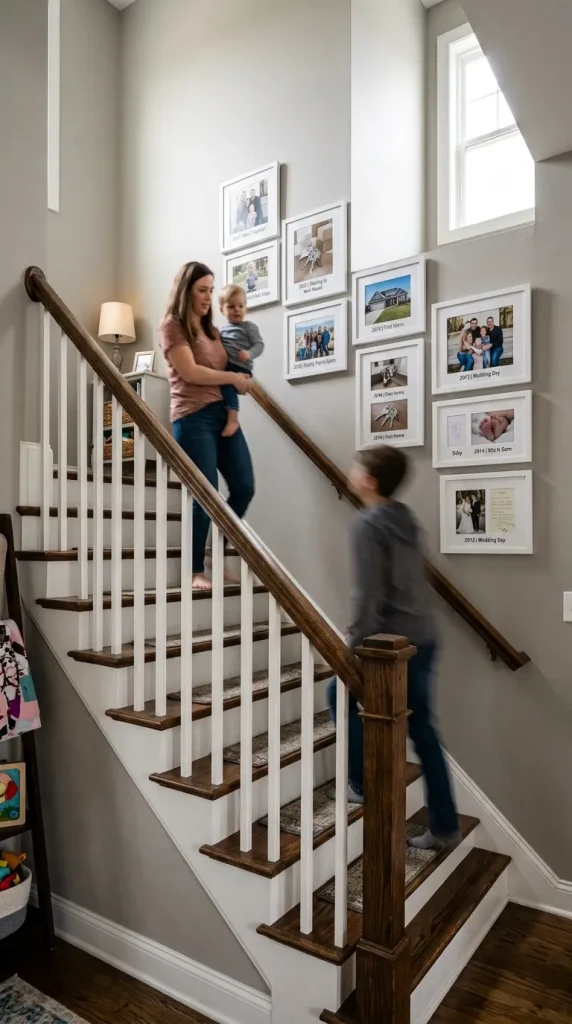
Idea 10: The Continuous Tone-on-Tone Passepartout Scheme
Execution Process
Achieve a highly seamless, expansive atmosphere across a small living space or bedroom sanctuary by implementing a strict tone-on-tone passepartout layout theme. Paint your accent wall, your outer frame molding trims, and your thick cardboard mat boards in the exact same shade of soft gray, warm beige, or muted cream matte finish. Frame minimal charcoal sketches or light pastel watercolor washes, centering the delicate art inside the custom-matched mat board capsules. Because there is a complete lack of sharp visual contrast between the frames and the background wall, the boundaries of the art display blur together smoothly. This sophisticated design concept delivers a luxury architectural profile that makes the entire room perimeter feel infinitely larger, cohesive, and calm.

Common Beginner Mistakes and How to Avoid Them
When executing new gallery wall inspiration ideas, beginners frequently fail to consider the critical baseline relationships between their frame groupings and existing furniture objects. A prominent mistake is hanging an art cluster far too high on the wall, or floating a small group of frames awkwardly like an isolated postage stamp far above a large sofa or console table. To easily avoid this serious design error, always treat your primary furniture piece and the gallery layout as a single, interconnected structural block. The lower edge of your lowest frames should hover exactly six to eight inches above the top boundary line of your sofa back or console table surface, anchoring the display naturally into your home decor theme. Another frequent error is mixing too many contrasting frame colors, disparate mat widths, and conflicting art mediums simultaneously, which creates visual chaos and looks unorganized. Maintain a disciplined material palette by choosing a unifying element—such as keeping all frame finishes identical or using a single tone-on-tone color scheme—to guarantee perfect visual harmony.
Styling, Presentation, and Long-Term Layout Maintenance
Maintaining a visually pristine art display over time relies entirely on implementing highly structured, disciplined organization systems and clean presentation rules. Group your extra template sheets, frame backing clips, and spare picture hooks inside a matching lidded storage chest parked neatly beneath your display wall to keep tool chaos fully concealed. Use a digital spirit level bi-weekly to check that your frames remain perfectly straight, adhering small clear rubber bumpers to the rear bottom corners of every frame to lock them against wall vibrations. Keep your frames looking immaculate by wiping down the acrylic glass panes and dusting the upper frame rims using a completely dry microfiber cloth to prevent lint accumulation. These disciplined maintenance habits ensure your handmade gallery projects remain highly functional, clean, and beautifully aligned with your broader lifestyle goals, transforming ordinary walls into captivating extensions of your living space.
Creative Expansion and Advanced Inspiration
Once your primary gallery wall configurations are functioning perfectly, you can explore advanced technological and design integrations to further enhance your viewing experience. Consider installing low-profile, smart automated LED picture lights or surface-mounted spotlight bars along your upper ceiling valances to cast targeted, dimmable illumination downward across your grids during quiet evening hours. You can integrate subtle electronic asset switches that automatically shift your smart home ambient lighting from bright morning task modes to warmer evening gallery viewing tones. Upgrading a simple flat layout by alternating two-dimensional framed prints with custom-built recessed display niches holding sculptural ceramics adds a luxurious, dynamic layer to your architecture. As your personal art collection matures over time, the modular nature of your floating acrylic ledges and adjustable cable rails allows you to transition your sky sanctuary effortlessly, providing endless opportunities for ongoing design inspiration.