10 Modern Kitchen Design Ideas

Sophisticated Culinary Spaces: Exploring 10 Modern Kitchen Design Ideas
Transforming a standard cooking space into a sleek, highly functional culinary hub requires strategic planning and a strong grasp of contemporary aesthetics. This professional guide explores ten versatile and modern kitchen design ideas that merge high-end visual appeal with practical day-to-day ergonomics. Readers will discover how to select streamlined materials, configure efficient layout geometries, balance integrated ambient lighting, and maintain an ultra-organized environment. Whether you are executing a complete structural remodel or implementing subtle decor updates, this comprehensive tutorial provides clear, actionable steps to elevate your home. Understanding the fundamental principles of contemporary style enables homeowners to maximize spatial utility while creating a sophisticated visual statement. By focusing on minimalist style, clean architectural lines, and smart material combinations, anyone can confidently design a beautiful, high-performance workspace that simplifies meal preparation and enhances home value.
Why Minimalist Kitchen Aesthetics Are Trending
Clean, unadorned interior spaces have captured widespread attention across modern Pinterest ideas, reflecting a broader cultural shift toward intentional and clutter-free living. These trending ideas are highly popular because they offer immense practical value, reducing visual chaos while optimizing the physical workflow of food preparation zones. The focus on geometric simplicity carries a strong DIY appeal, as homeowners can easily swap basic hardware, mount streamlined floating shelves, or apply fresh neutral paint to achieve a high-end look without major construction. This exceptional accessibility for beginners ensures that achieving a professional, upscale atmosphere does not require advanced technical masonry or carpentry skills. By emphasizing integrated storage systems and durable surfaces, a contemporary layout proves that a kitchen can remain intensely utilitarian while exuding a sophisticated, calming aesthetic that complements the overall home decor.
Essential Materials and Structural Preparation
Launching a successful interior redesign requires thorough preparation, accurate measurements, and the early acquisition of appropriate tools and materials. Before altering any surfaces, gather essential equipment including a digital laser measure, a heavy-duty spirit level, standard painter’s tape, an electric drill, and safety gear. The primary materials required for a sleek upgrade often include quartz or solid-surface countertops, flat-panel cabinet doors, hidden soft-close hinges, porcelain tiles, and low-VOC linear paint finishes. During the initial planning phase, clear out all existing countertops, map out the exact locations of plumbing lines, electrical outlets, and ventilation shafts, and protect your flooring with heavy drop cloths. Creating a precise, scaled layout blueprint on grid paper ensures your creative project maintains architectural alignment, preventing costly measurement mistakes during the final installation of major components.
Ten Practical Layout Concepts for Contemporary Spaces
Idea 1: The Monochromatic Seamless Handleless Cabinetry
Setup Method
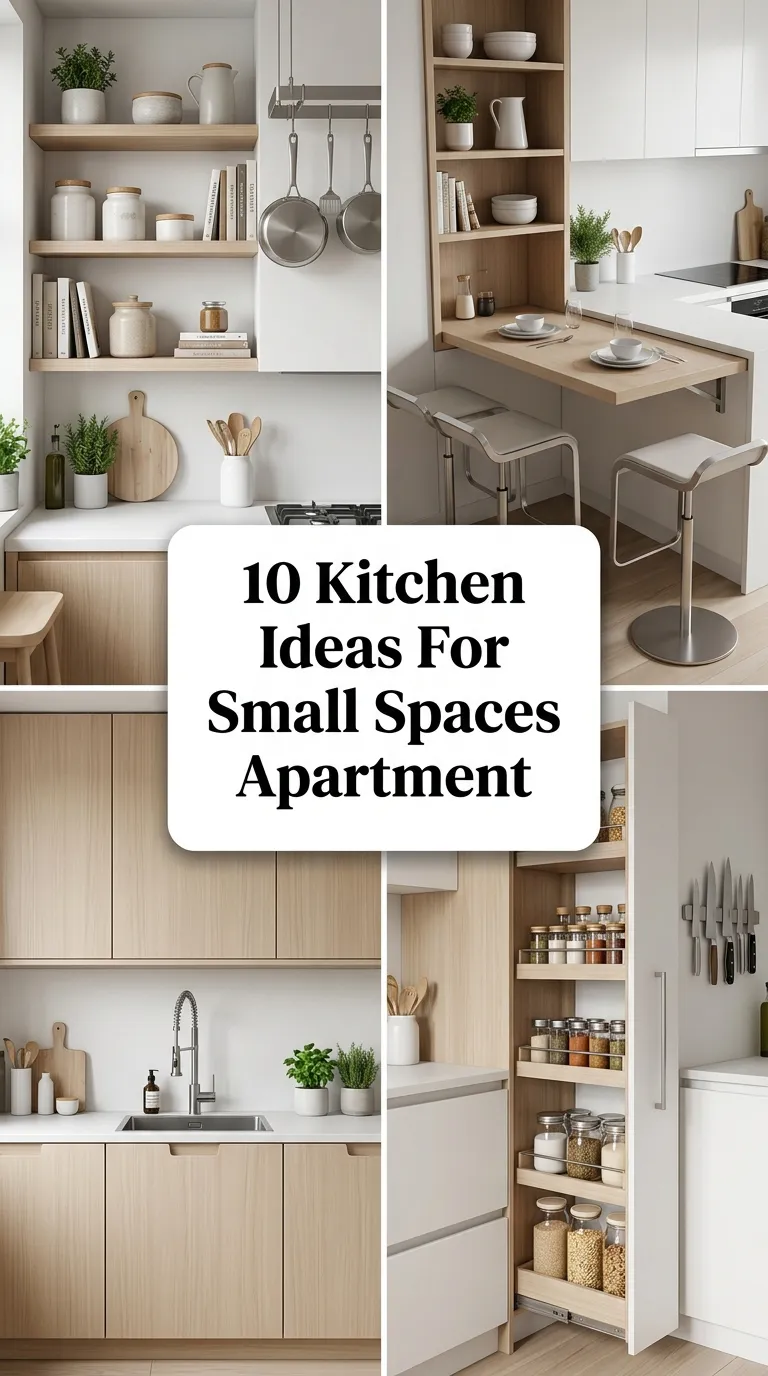
To establish an incredibly sleek, unadorned aesthetic, replace traditional raised-panel cabinet doors with flat, matte-finished slab doors featuring integrated J-pull profiles or touch-to-open magnetic latches. This design completely eliminates protruding metal knobs and pulls, creating a continuous, uninterrupted plane of color that expands the visual boundaries of smaller rooms. Secure the new door panels to your existing cabinet carcases using adjustable, hidden European-style soft-close hinges to ensure flawless vertical and horizontal alignment. Select a crisp white or deep charcoal matte finish, pairing the cabinetry with a matching solid-surface countertop material to enforce a strict minimalist style. This straightforward tutorial project instantly modernizes old storage structures while making the exterior surfaces significantly easier to wipe clean during daily cooking routines.
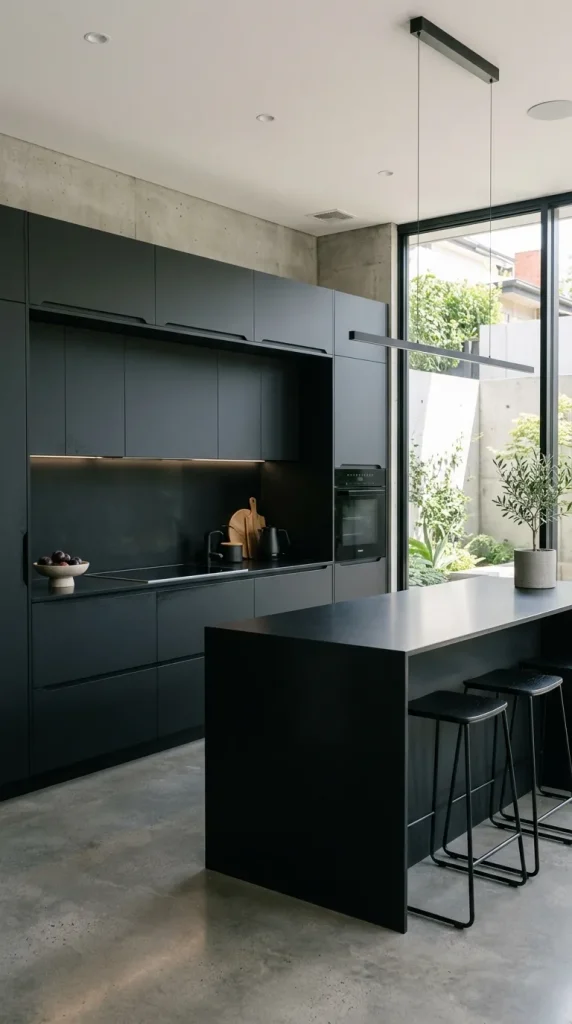
Idea 2: The Continuous Quartz Waterfall Island Splendor
Step-by-Step Guide
Introduce a powerful architectural focal point by extending your central island countertop material vertically down both sides all the way to the floor. To execute this modern design, purchase a premium quartz or engineered stone slab cut precisely with forty-five-degree mitered edges at the corners. Secure the horizontal countertop to the island base cabinet unit first, then carefully align and bond the vertical side panels using color-matched epoxy adhesive. This structural waterfall edge conceals the exposed wooden end-panels of standard cabinetry, creating a fluid, stone-carved appearance that anchors the center of the room. Keep the base cabinets underneath a neutral tone, and extend thin bar stools with clean metal legs beneath the countertop overhang to preserve a spacious, unlettered atmosphere.
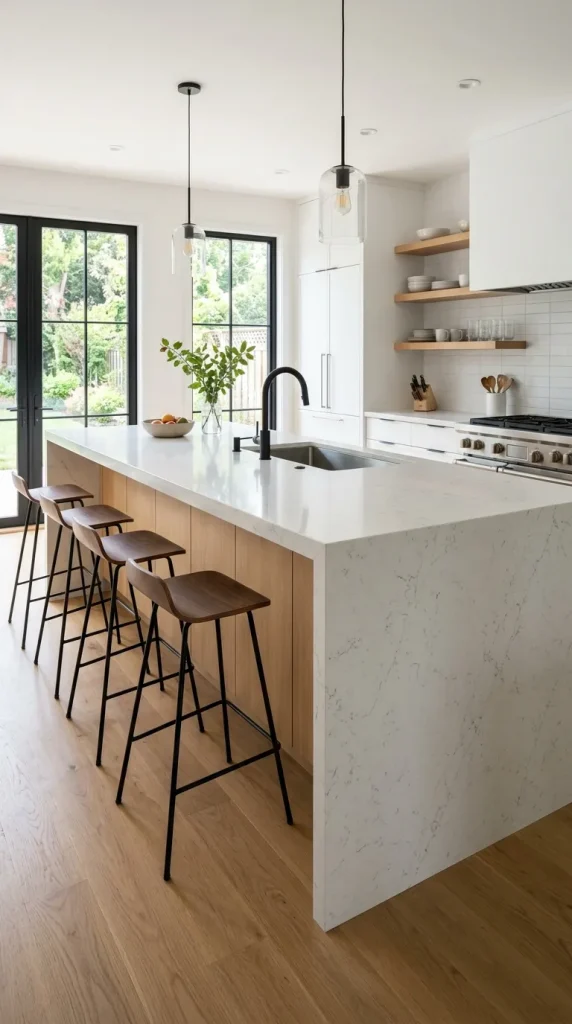
Idea 3: The Concealed Integrated Appliance Wall
Execution Process
Conceal bulky, mismatched kitchen electronics by building a dedicated floor-to-ceiling utility wall featuring custom-fit cabinet facing panels. Mount large, flat wooden panels directly onto the front doors of your refrigerator, freezer, and dishwasher using heavy-duty sliding appliance brackets. Ensure the panel materials, wood grain patterns, and paint finishes exactly match the surrounding storage units to create a completely cohesive, flush vertical surface. This installation completely hides metallic appliance faces, transforming a chaotic wall of technology into a clean, uniform architectural partition. Leave narrow, precise two-millimeter gaps between each panel to ensure unhindered door operation while maintaining a flawless layout. This creative project works exceptionally well in open-concept floor plans where the cooking zone is highly visible from living areas.
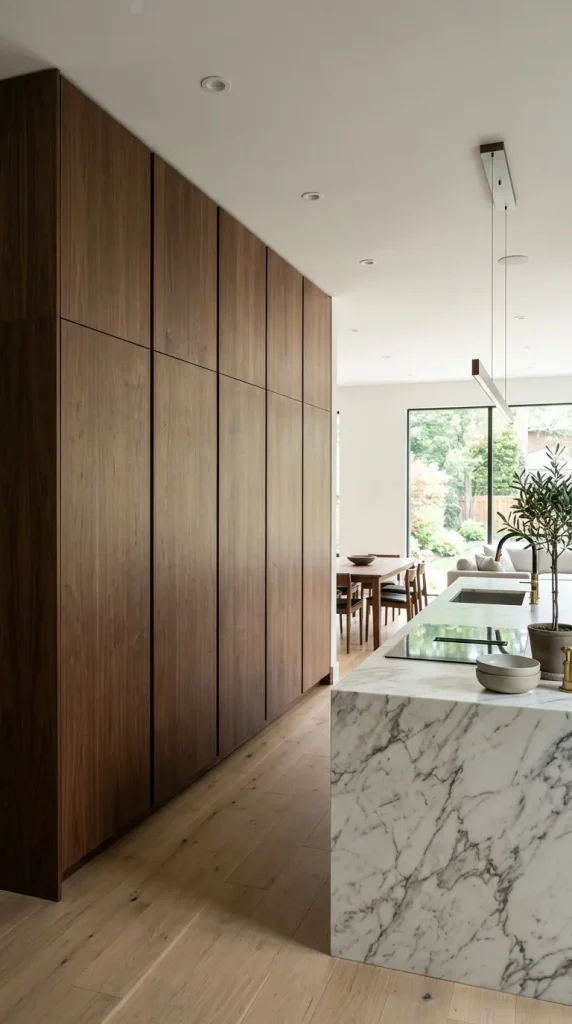
Idea 4: The Streamlined Industrial Floating Shelf Grid
How to Create
Break up the heavy, restrictive look of traditional upper wall cabinets by installing lightweight, open-air floating shelving units constructed from matte black iron and sandblasted oak. Secure heavy-duty steel mounting brackets directly into your wall studs using long structural screws, ensuring perfect horizontal alignment with a laser level. Slide the hollowed wooden shelves over the internal metal prongs, locking them firmly into position to prevent any sagging under weight. Arrange a strict selection of uniform white ceramic dishware, clear glass storage jars, and minimalist planters across the open surfaces to form an organized decoration display. This beginner friendly method allows natural ambient light to flow freely across the upper walls, making tight, narrow cooking spaces feel significantly larger and more inviting.
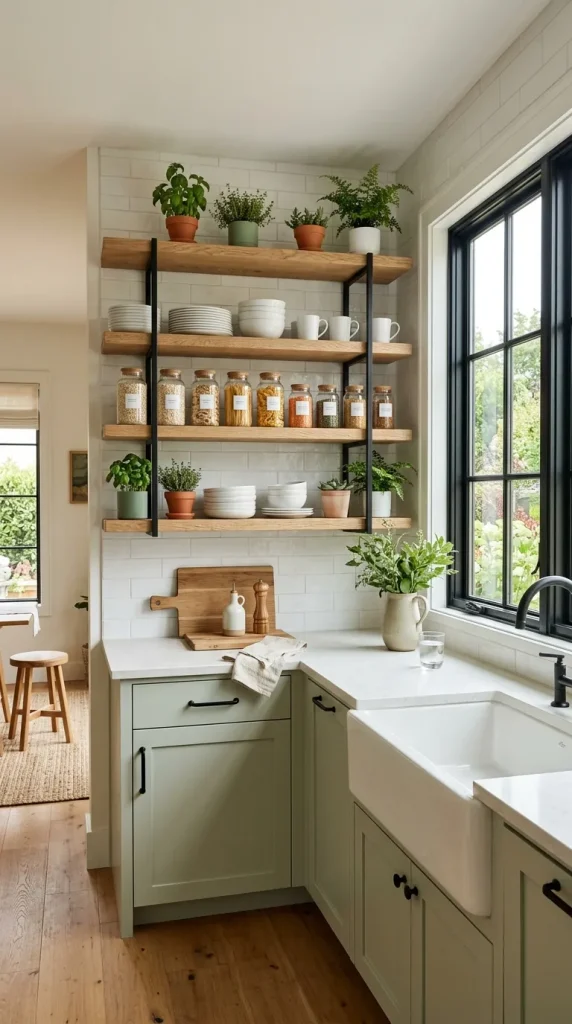
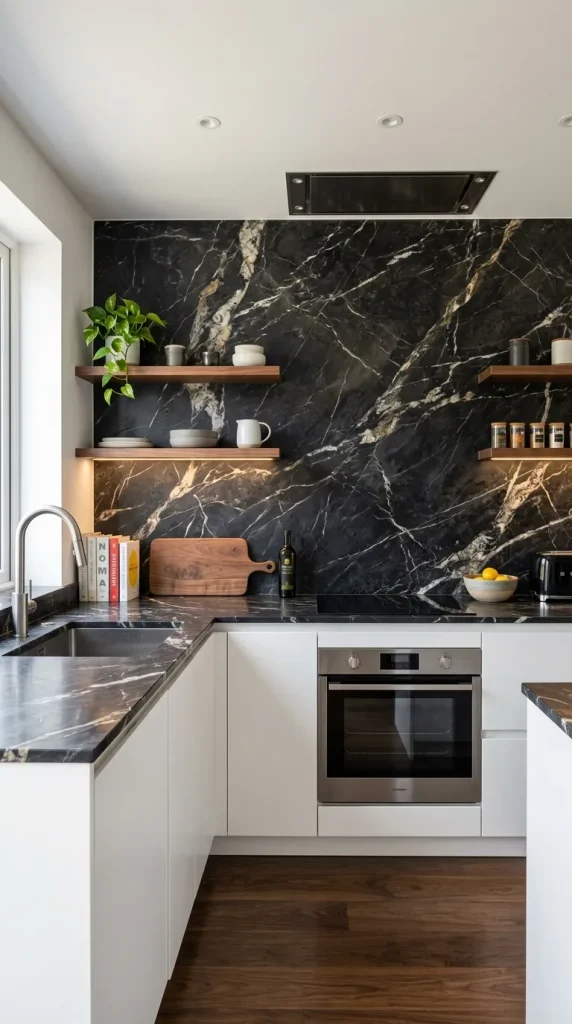
Idea 5: The High-Contrast Dramatic Backsplash Wall
How to Make
Create striking visual depth by installing a full-height backsplash using oversized black porcelain tiles or a single, continuous sheet of dark veined marble against white walls. Thoroughly clean the drywall surface, apply a uniform layer of polymer-modified thin-set mortar using a notched trowel, and press the large tiles firmly into place. Use minimal spacer gaps between the pieces and apply a dark, stain-resistant grout to achieve a nearly seamless, monolithic appearance that resists moisture. This bold design choice acts as a stunning artistic backdrop that contrasts beautifully against light-colored flat-panel cabinetry and gleaming stainless steel fixtures. The smooth, non-porous nature of the chosen material ensures that grease splatters and cooking residue can be effortlessly wiped away with a damp microfiber cloth.
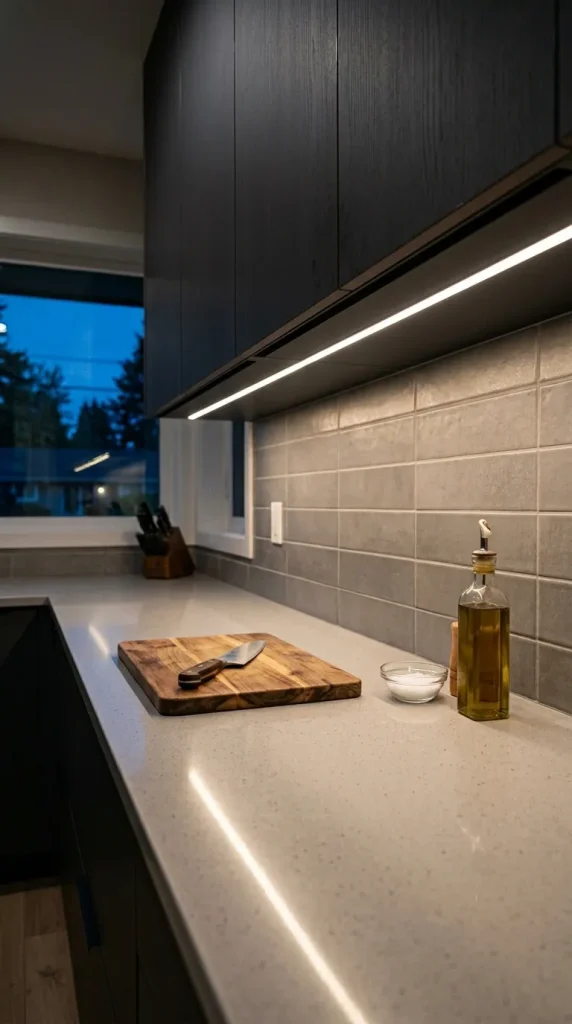
Idea 6: The Recessed Under-Cabinet Linear LED Network
Step-by-Step Guide
Incorporate sophisticated layered illumination into your workspace by mounting low-profile, dimmable linear LED light strips into hidden channels beneath your upper cabinetry. Route a shallow, half-inch channel along the bottom trim of the wooden cabinets, or attach slim aluminum profile tracks directly to the underside using small mounting clips. Lay the flexible LED tape inside the metal tracks, press the frosted plastic diffusers into place to eliminate harsh hot spots, and connect the wiring to a central low-voltage transformer. Position the lights toward the front edge of the cabinets to cast a bright, uniform sheet of task illumination directly across your prep countertops. This easy project eliminates dark shadows under storage units, vastly improving safety during knife work while providing an elegant evening glow.
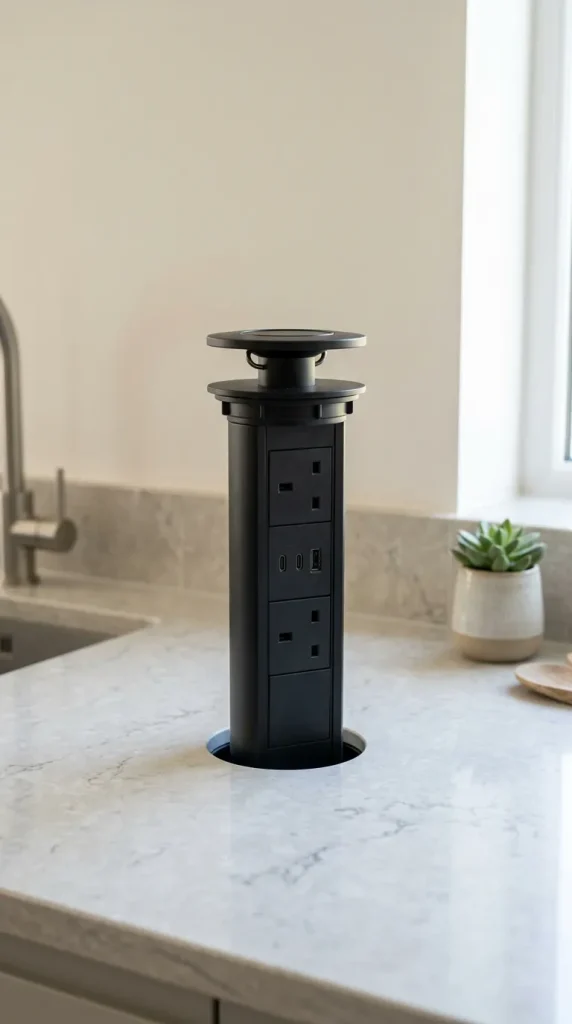
Idea 7: The Hidden Pop-Up Countertop Power Hub
Setup Method
Maintain completely clean, uninterrupted backsplash walls by replacing traditional vertical electrical outlets with hidden, flush-mounted pop-up power towers directly inside your countertops. Use a diamond-tipped hole saw to cut a precise three-inch circle through your quartz or laminate countertop surface near the rear wall boundary. Insert the cylindrical power hub housing down into the opening, securing the bottom locking ring tightly against the underside of the counter material. Connect the unit’s heavy-duty electrical cord to a dedicated lower outlet box located safely inside the base cabinet space. When pressed down, the top cap sits completely level with the countertop surface, blocking out water and debris; when tapped lightly, the column rises to reveal multiple hidden outlets.
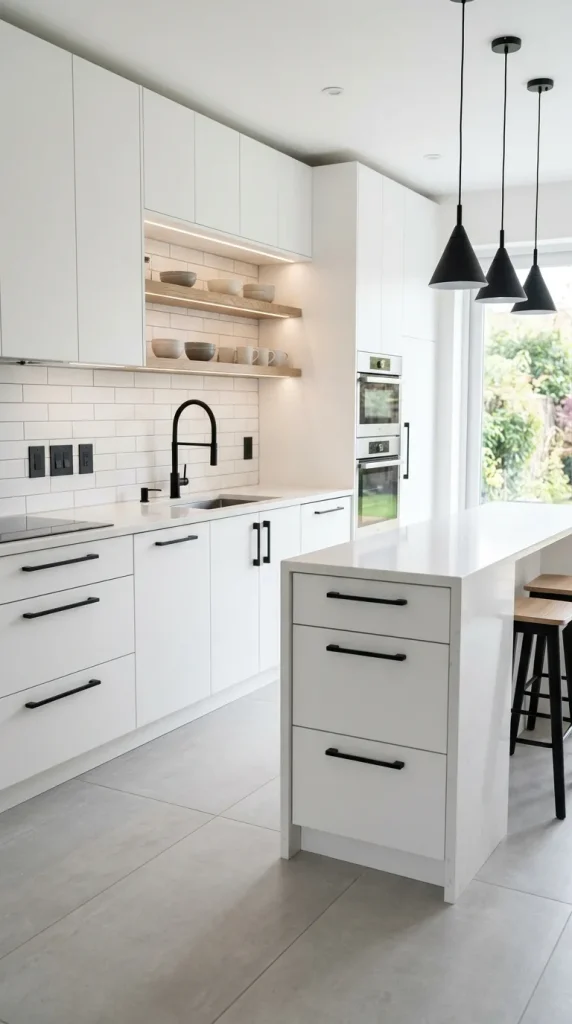
Idea 8: The Matte Black Fixture Accent Theme
Execution Process
Introduce a contemporary graphic quality to a neutral room by systematically replacing all shiny chrome hardware with high-quality matte black powder-coated fixtures. Unscrew all existing cabinet handles, drawer pulls, and hinges, replacing them with slim, geometric T-bar pulls or minimalist square hardware. Install a matching matte black gooseneck pull-down faucet onto your sink basin, securing the underlying water lines with an adjustable wrench. Complete the coordinated theme by swapping out standard plastic light switch covers for matte black aluminum faceplates across all walls. This cost-effective DIY decoration project provides instant contrast against white or light gray surfaces, creating a cohesive, professionally styled look without requiring a major financial investment.
Idea 9: The Low-Profile Flush Induction Cooktop Surface
How to Create
Achieve a highly continuous, uninterrupted countertop plane by installing a sleek, touch-controlled glass induction cooktop that sits perfectly flush with your stone surfaces. Hire a professional stone fabricator to cut a precise step-routed opening along the inner perimeter of your countertop cutout to support the cooktop rim. Lower the black glass induction unit into the recessed groove, sealing the outer perimeter with high-temperature clear silicone adhesive to prevent moisture penetration. Because induction technology relies on electromagnetic energy rather than open flames or exposed coils, the smooth glass surface stays cool and can double as extra prep space when not actively heating. This minimalist style choice creates an ultra-streamlined horizontal perspective that perfectly defines modern luxury design.
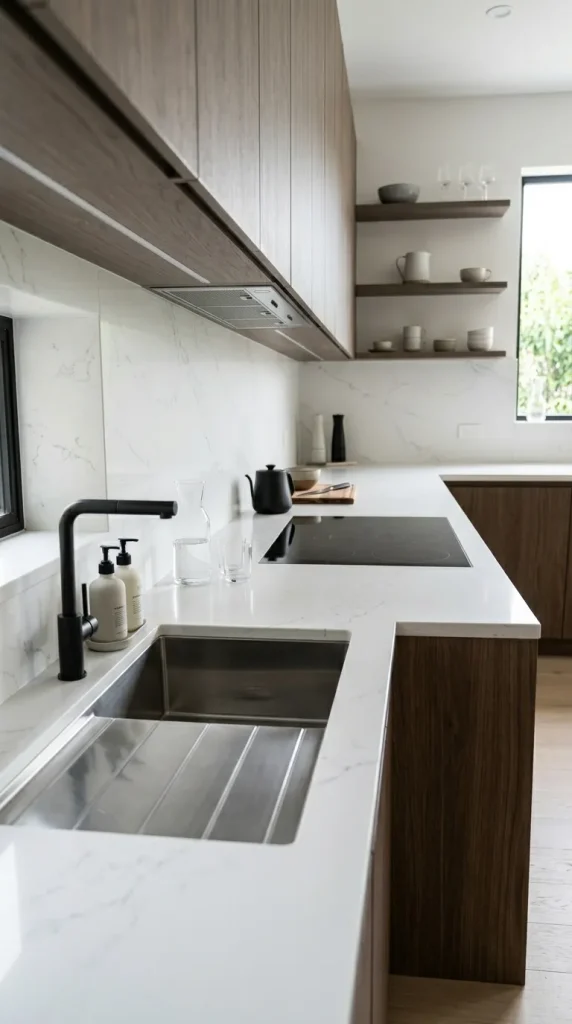
Idea 10: The Deep Geometric Undermount Single-Basin Sink
Setup Method
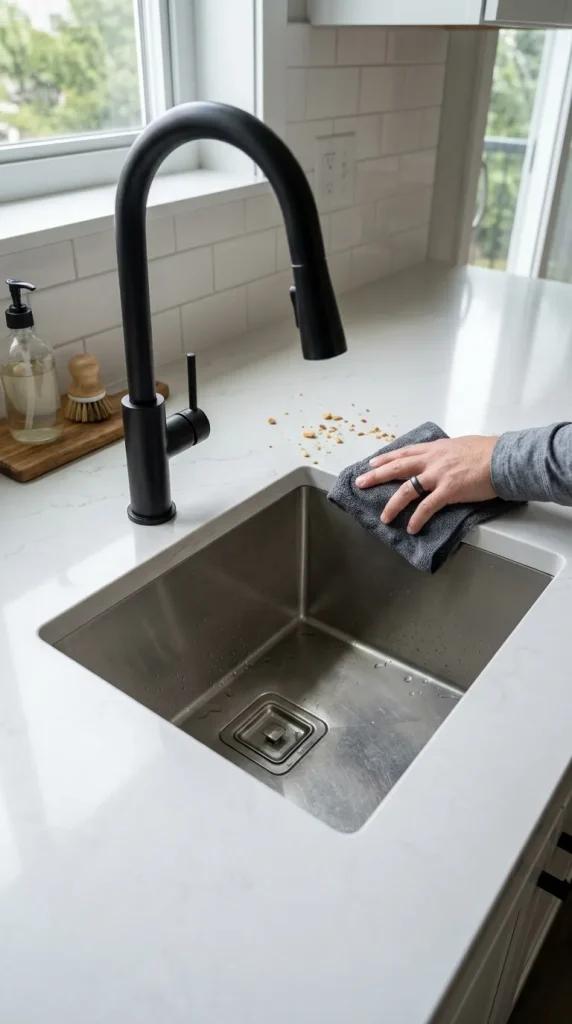
Eliminate bulky, dirt-catching metal rims on your countertops by installing a heavy-gauge, stainless steel single-basin sink beneath your stone cutout. Apply a continuous bead of high-performance polyurethane sealant along the top rim of the sink basin, then lift it into position under the counter opening using an adjustable sink harness. Secure the unit permanently using heavy-duty undermount clips screwed into pre-drilled stone anchors on the underside of the quartz slab. The rimless transition allows you to wipe food crumbs and liquid spills directly from the countertop straight into the sink basin without getting trapped in edge gaps. Choose a deep, square geometric basin shape to maximize your practical washing space for large pots while preserving clean interior lines.