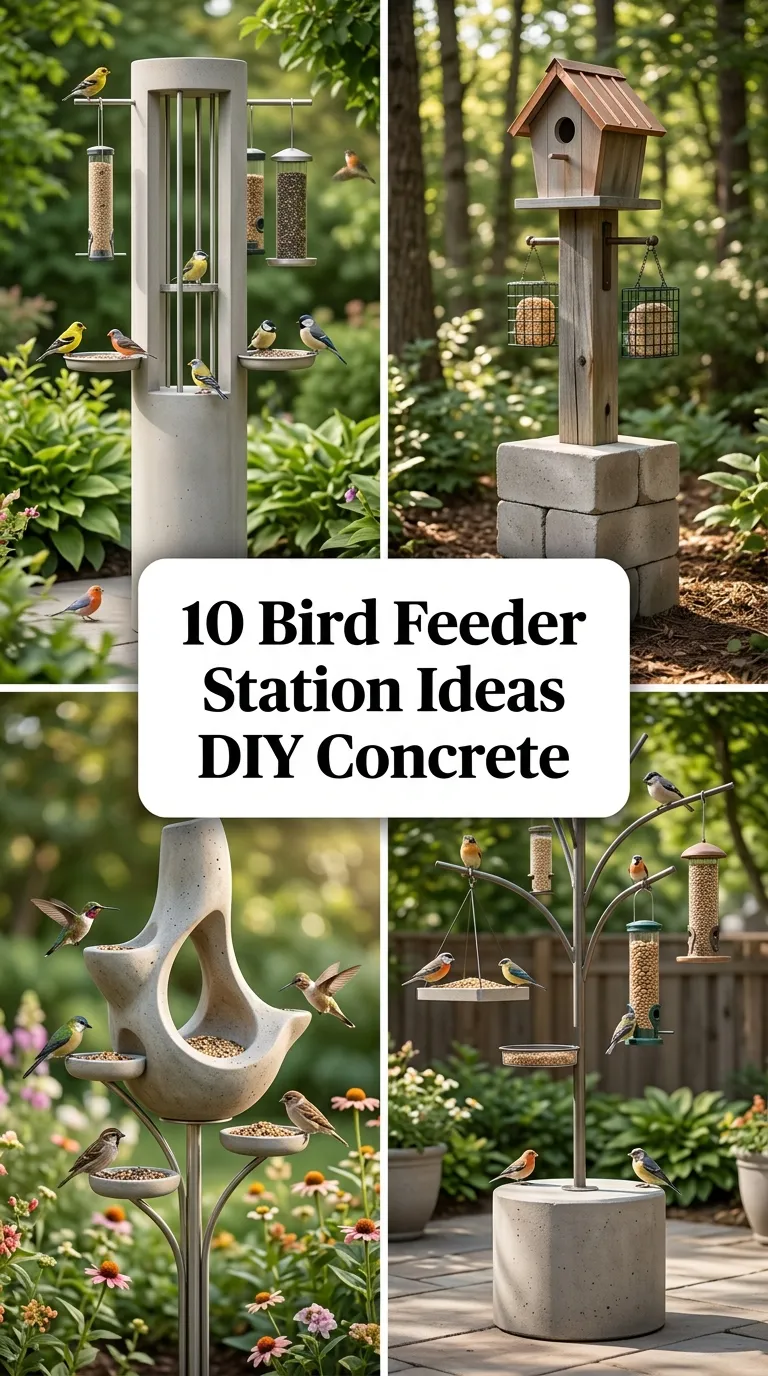
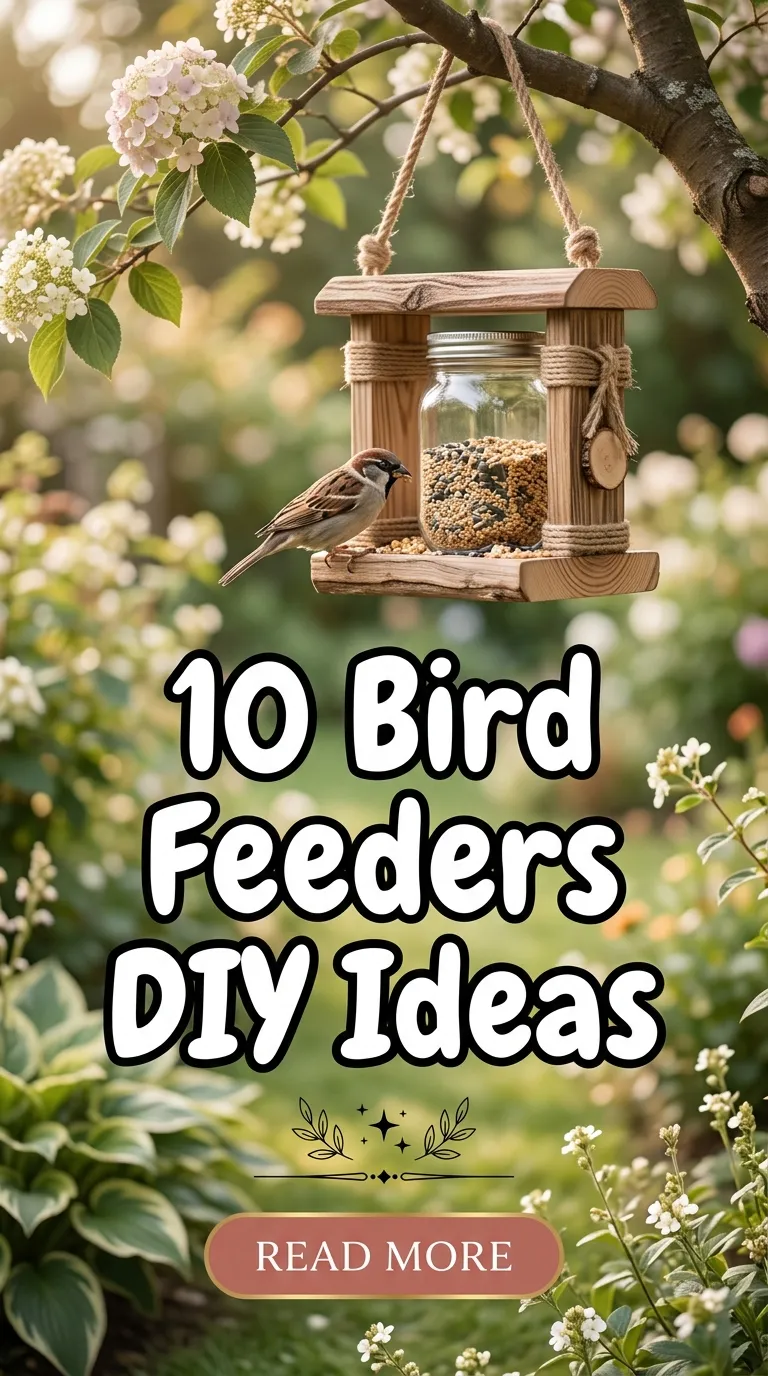
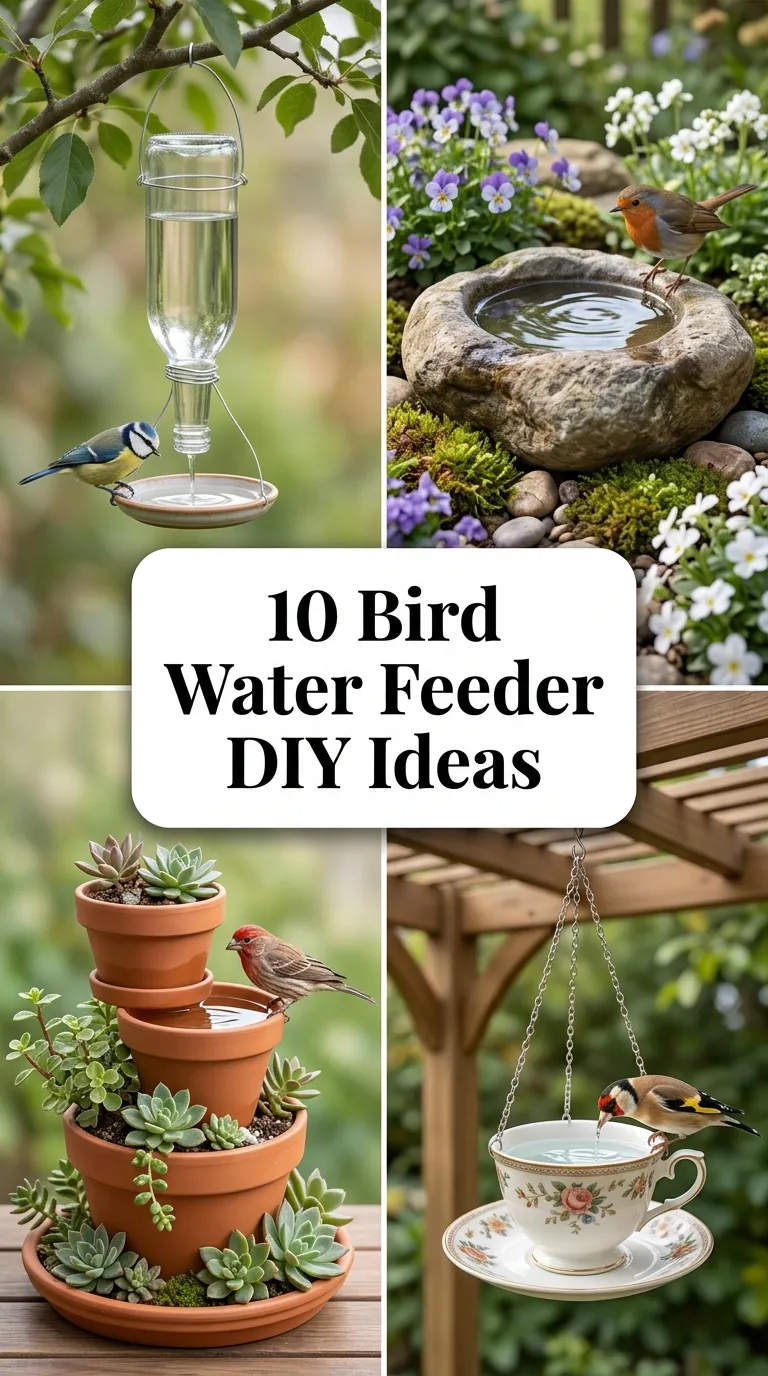
10 Bird Feeders DIY Wooden Painted
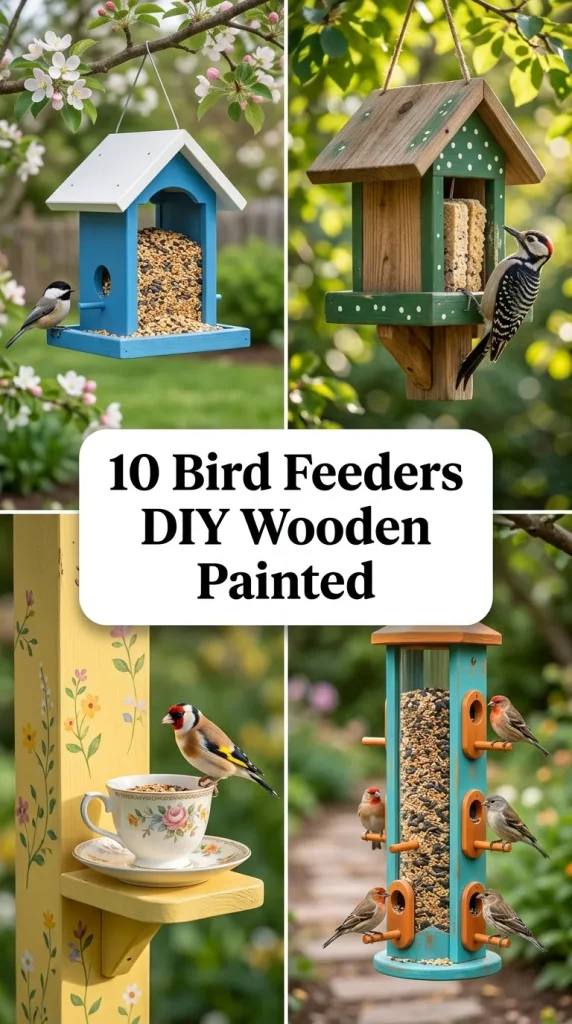
Vibrant Aviaries: Exploring 10 DIY Wooden Painted Bird Feeders
Designing a handcrafted wooden bird feeder requires balancing durability, avian safety, and expressive seasonal color palettes. This comprehensive guide details ten versatile DIY wooden painted bird feeder ideas that seamlessly merge wildlife hospitality with high-end exterior home decor principles. Readers will learn how to select non-toxic exterior paints, implement proper seed drainage systems, protect structures from weather elements, and maintain a pristine backyard presentation. Whether you are crafting a sleek modern pavilion for a contemporary garden deck or painting a nostalgic cottage feeder for a rustic woodland branch, this structured tutorial offers clear, actionable construction tracks. Understanding how to apply weather-resistant seals while safeguarding feeding pathways allows you to create a striking backyard sanctuary that attracts beautiful songbirds year-round.
Why Custom Painted Bird Feeders Are Trending
Handcrafted, highly stylized garden elements have captured massive visibility across modern Pinterest ideas, highlighting a prominent shift toward mindful backyard birding and sustainable lifestyle choices. These trending ideas are exceptionally popular because they offer incredible practical and educational value, transforming basic raw lumber into vibrant, functional art installations that enliven outdoor spaces. The distinct focus on geometric wood shapes, high-contrast accent roofs, and custom stenciled patterns carries an immense DIY appeal, enabling individuals to maximize their garden styling with basic carpentry and painting knowledge. This remarkable accessibility for beginners ensures that achieving an upscale, custom-designer look is entirely realistic without purchasing expensive commercial plastic variants. By prioritizing weather-sealed non-toxic coatings and secure branch-mounting systems, these creative projects prove that garden utility can serve as a stunning visual asset while exuding a sophisticated, calming aesthetic.
Essential Materials and Wood Workshop Preparation
Launching a successful DIY bird feeder project requires thorough workshop preparation, accurate wood cutting measurements, and gathering bird-safe materials before applying any fluid finishes. Collect your essential workspace equipment, including a miter or hand saw, a cordless drill with driver bits and a hole saw, weather-resistant wood glue, a digital spirit level, a sanding block, and painter’s alignment tape. The primary construction materials needed for a durable setup typically include 1×6 raw cedar or pine boards, rust-proof galvanized screws, heavy-duty eye hooks, outdoor-grade non-toxic acrylic paints, and a clear, pet-safe exterior water-based sealer. During the initial preparation phase, sand all cut wood edges thoroughly to remove sharp splinters that could harm delicate avian wings or feet. Developing a precise layout blueprint and pre-drilling your screw pilot holes ensures your creative project proceeds smoothly, preventing wood splitting and guaranteeing your finished feeder hangs perfectly balanced against sudden windstorms.
Ten Practical Painted Wooden Bird Feeder Layouts
Idea 1: The High-Contrast Monochrome Modern Pavilion
Construction Method
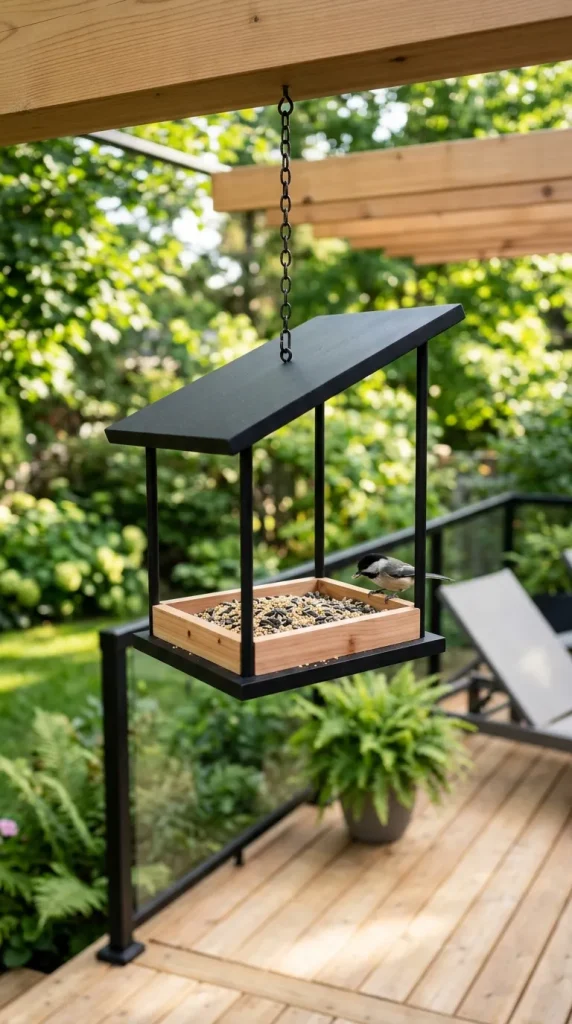
To establish a sharp, contemporary design statement that perfectly accents a minimalist backyard deck, build a geometric open-air pavilion feeder. Construct a flat six-by-eight-inch base tray using durable raw cedar, framing the perimeter with low-profile one-inch retaining walls to keep birdseed contained. Support a flat, single-sloped pitch roof using four slim, vertical wooden corner dowels screwed firmly into the base corners. Paint the entire outer structure in a striking matte black exterior non-toxic paint, while leaving the interior seed tray raw and unpainted to ensure complete food safety. This clean geometric layout strips away the fussy look of traditional birdhouses, offering an architectural shelter that stands out beautifully against green foliage.
Idea 2: The Scandi-Style Sage Green Gazebo
Step-by-Step Guide
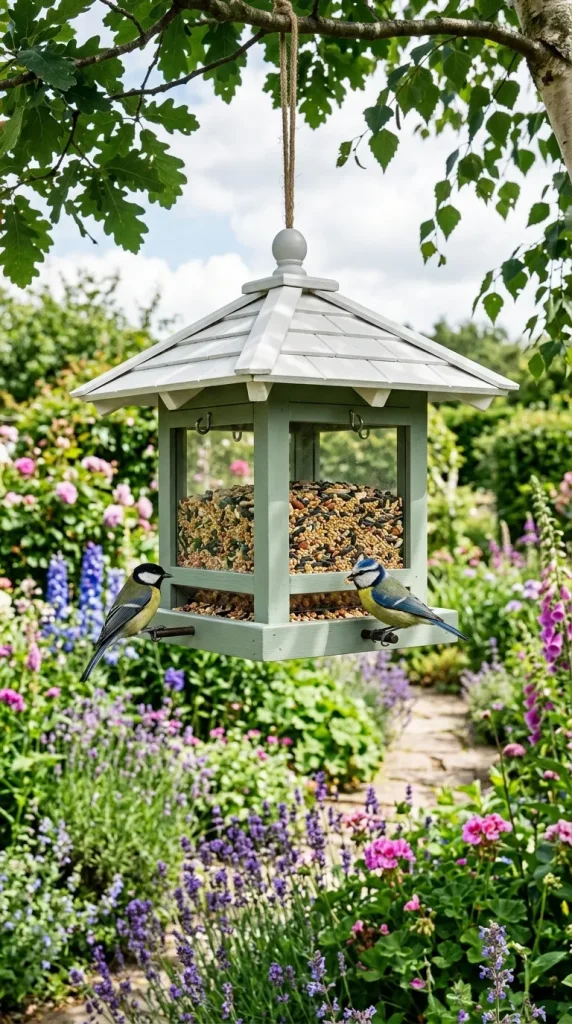
Introduce soft Nordic warmth to a garden border by crafting a traditional hexagonal or square gazebo hopper feeder featuring a clear viewing window. Assemble a square wooden central capsule using four pine panels, cutting a wide arched feeding portal into the lower edge of all four sides. Slide a removable pane of thick, clear acrylic plexiglass inside to act as a internal gravity-fed seed hopper. Paint the exterior walls in a calming, matte Scandinavian sage green exterior paint, contrasting it beautifully by coating the overhanging roof panels in a crisp matte white. This beginner-friendly easy project guides natural daylight into the feeding track, allowing you to monitor seed levels instantly from your window.
Idea 3: The Geometric Color-Blocked Fly-Through Hopper
Execution Process
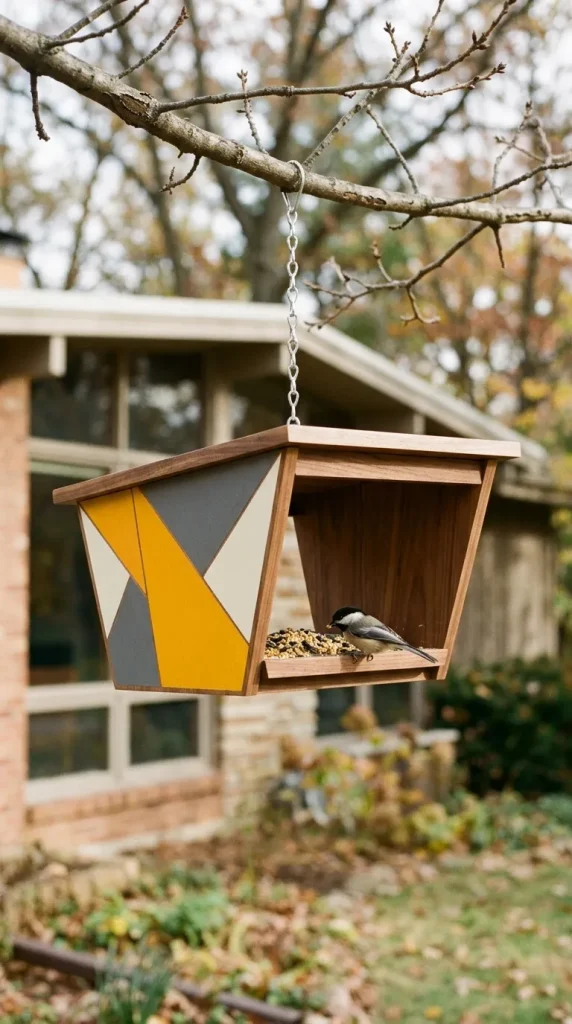
Incorporate rich graphic depth and a bold mid-century modern look into your landscaping by constructing a color-blocked fly-through hopper feeder. Build a wide, low-profile triangular or wedge-shaped wooden outer frame, leaving the two main expansive side faces fully open so birds can fly straight through the structure. Apply a crisp coat of exterior primer across the outer wood panels before taping off clean geometric lines using low-tack painter’s tape. Paint the segmented outer panels in alternating high-contrast tones of vibrant marigold yellow, soft charcoal gray, and clean cream white. This structured color layout delivers an upscale, artistic decoration feature that brings immediate visual interest to bare tree branches.
Idea 4: The Cottagecore Pastel Floral Fly-Inn
How to Create
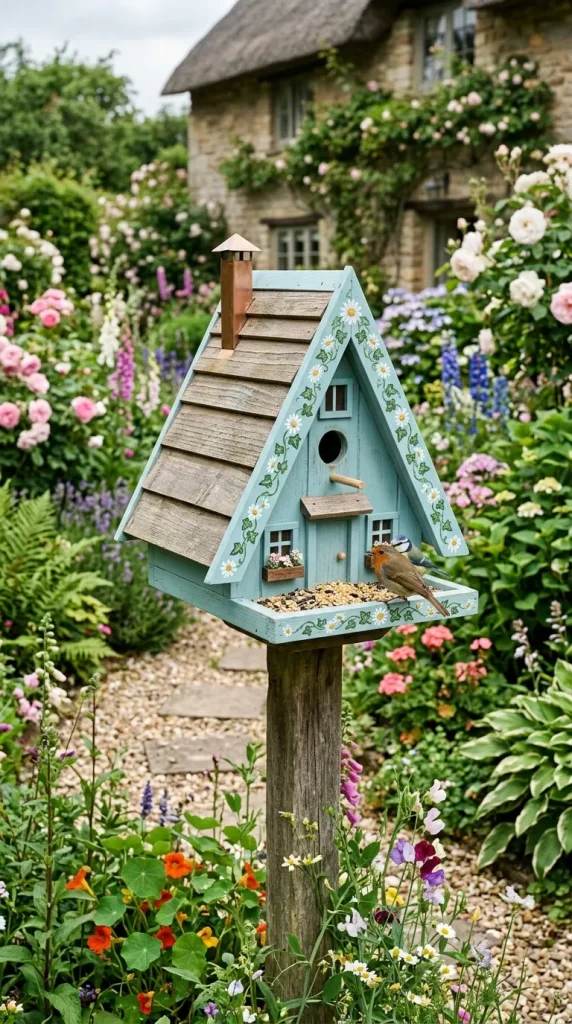
Nurture a charming, vintage country aesthetic across an outdoor patio by building a classic A-frame cabin feeder adorned with delicate painted blooms. Construct a traditional pitched-roof house layout featuring a deep lower seed trough and a wide open front entrance gable. Paint the main exterior cabin walls in a soft, matte robin’s egg blue or dusty lavender exterior pastel paint. Use a fine-tipped artist brush to hand-paint a delicate, winding pattern of small white daisies and green ivy leaves cascading along the roofline borders. This beautiful handmade decoration alternative transforms an ordinary garden feeder into a poetic extension of your home design, matching grandmillennial style themes flawlessly.
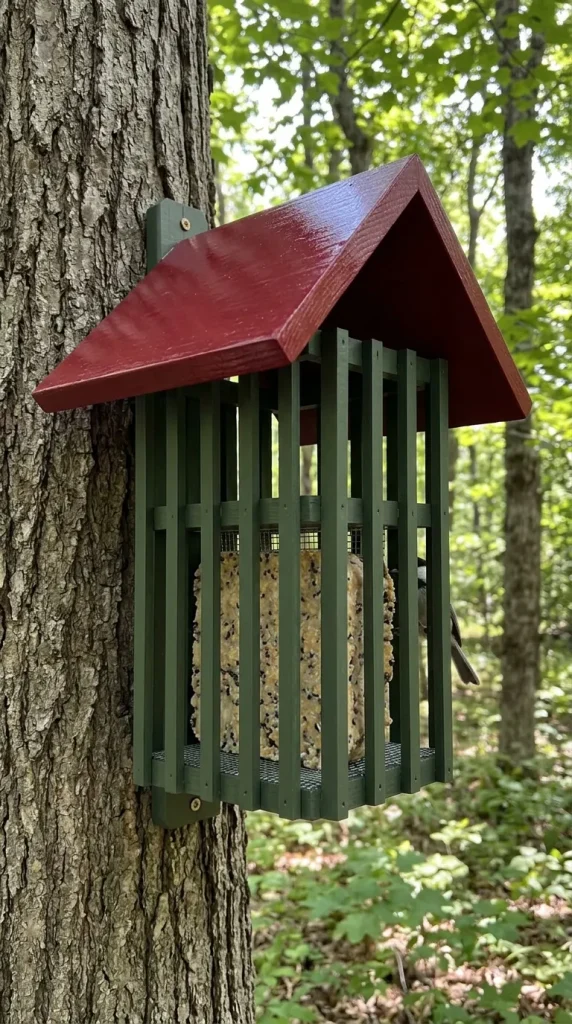
Idea 5: The Vertical Slatted Cedar Suet Cage Cage
Setup Method
Optimize your wildlife station specifically for woodpeckers and nuthatches by building a vertical, slatted suet cake feeder highlighted by a bold accent roof. Construct a narrow, upright rectangular cage frame using thin, vertical raw cedar wood slats spaced exactly one inch apart to securely house a standard suet cake. Paint the structural slatted body in a deep, understated forest green tone that blends seamlessly with natural tree trunks. Top the cage with an oversized, steeply pitched roof panel painted in a rich, high-gloss cherry red to act as a vibrant visual beacon for foraging birds. This organized structural design grounds your layout with an organic warmth while providing a sturdy, wind-resistant feeding mechanism.
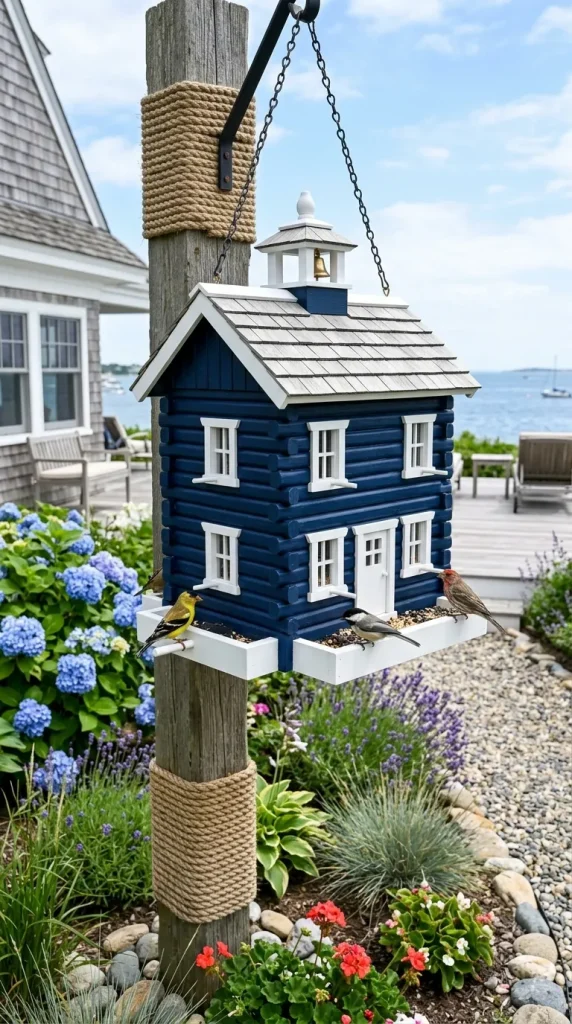
Idea 6: The Nautical Navy Log Cabin Hopper
Step-by-Step Guide
Introduce a classic coastal home decor vibe to a lakeside veranda or seaside garden by styling a robust hopper feeder to look like a tiny nautical cottage. Build a sturdy rectangular log-cabin box frame using stacked square balsa or pine wood strips glued and screwed tightly together. Paint the exterior log walls in a deep, regal nautical navy blue, highlighting the window cutouts and lower feeding troughs in a bright, clean glossy white trim. Mount a small, decorative brass cleat hook to the side wall to hang a small suet ball, completing the coastal theme. This creative project looks intensely curated and sturdy, standing up to harsh coastal winds and moisture effortlessly.
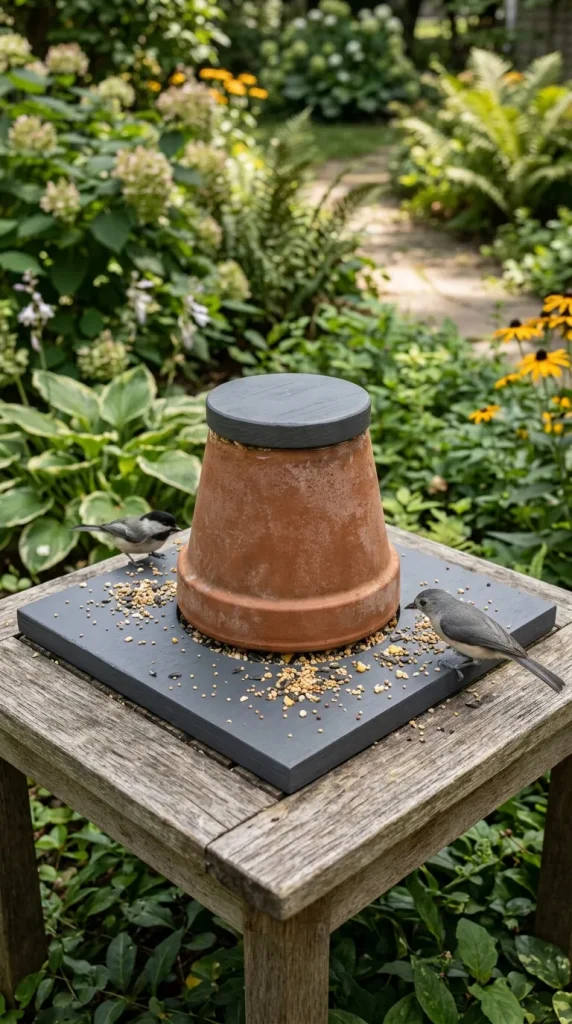
Idea 7: The Terra-Cotta Trimmed Flowerpot Platform
Execution Process
Create a clever, multi-material statement centerpiece by integrating a classic clay flowerpot cleanly into a painted wooden hanging platform. Cut an eight-inch square base plate out of thick plywood, drilling a wide circular hole directly through the center using a hole saw bit. Paint the wooden base plate in a solid matte charcoal gray, sealing it with a water-based protectant spray to resist moisture. Drop an inverted six-inch unglazed terracotta flowerpot through the central hole to act as a rustic, self-dispensing seed reservoir that funnels grains into the outer tray. This modern design choice provides deep textural contrast, pairing raw earthen clay with clean, painted wood geometry.
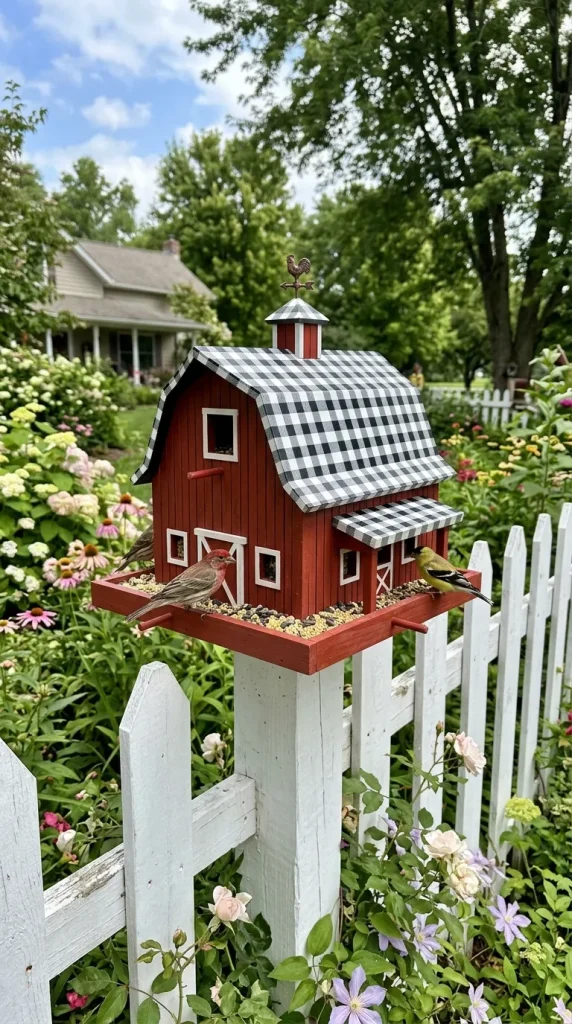
Idea 8: The Whimsical Gingham Roof Barn Feeder
How to Create
Achieve an ultra-cozy, traditional country barn atmosphere across a backyard fence line by constructing a classic gambrel-roof barn feeder featuring a playful painted pattern. Build a miniature barn framework using pine boards, cutting characteristic angled slopes along the top side panels to support a traditional curved or double-sloped gambrel roof. Paint the main structural barn walls in a bold, iconic barn red exterior paint finish. Use painter’s tape to lay out a meticulous, high-contrast black and white gingham plaid check pattern across the entire roof surface. This eye-catching alternative replaces boring commercial feeders with a highly artistic, personalized garden centerpiece that immediately captures design inspiration.
Idea 9: The Distressed Driftwood Double-Tray Chandelier
Setup Method
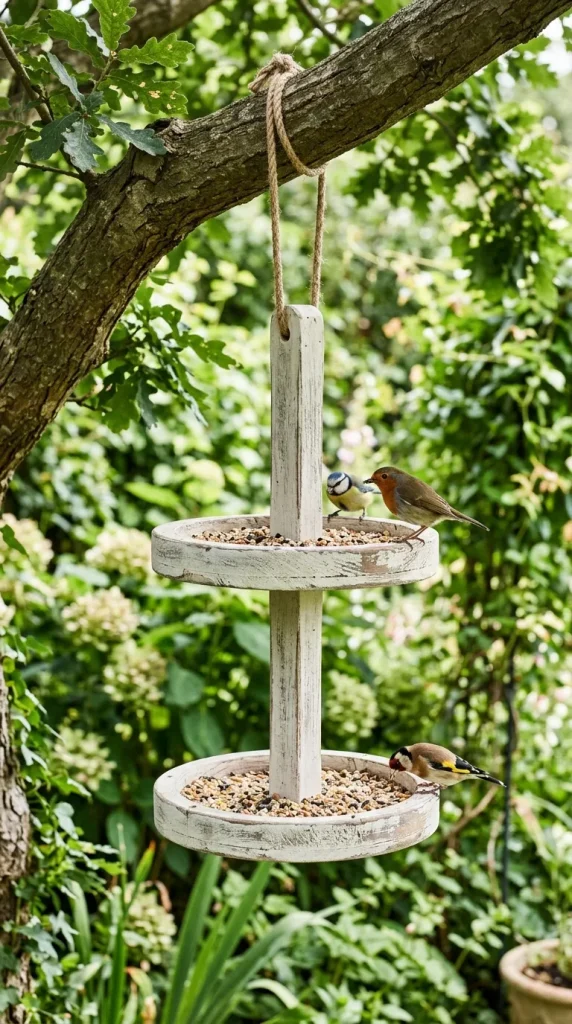
Utilize vertical space creatively to build a multi-level, dramatic avian buffet by assembling a double-tray chandelier feeder using a central support spine. Connect two flat, round wooden serving trays—one measuring twelve inches and the second measuring eight inches—horizontally along a single vertical central wooden dowel rod. Paint the entire wooden assembly in a soft, chalky antique white paint, utilizing a coarse sanding block to rub the edges down lightly to create an elegant, distressed driftwood appearance. Drill a series of tiny one-eighth-inch drainage holes through both tray bases to prevent rain pooling, hanging the double decker structure using thick jute twine rope. This low-profile layout celebrates vintage style while maximizing your daily bird-viewing real estate.
Idea 10: The Minimalist Acrylic-Paneled Chevron Hopper
How to Make
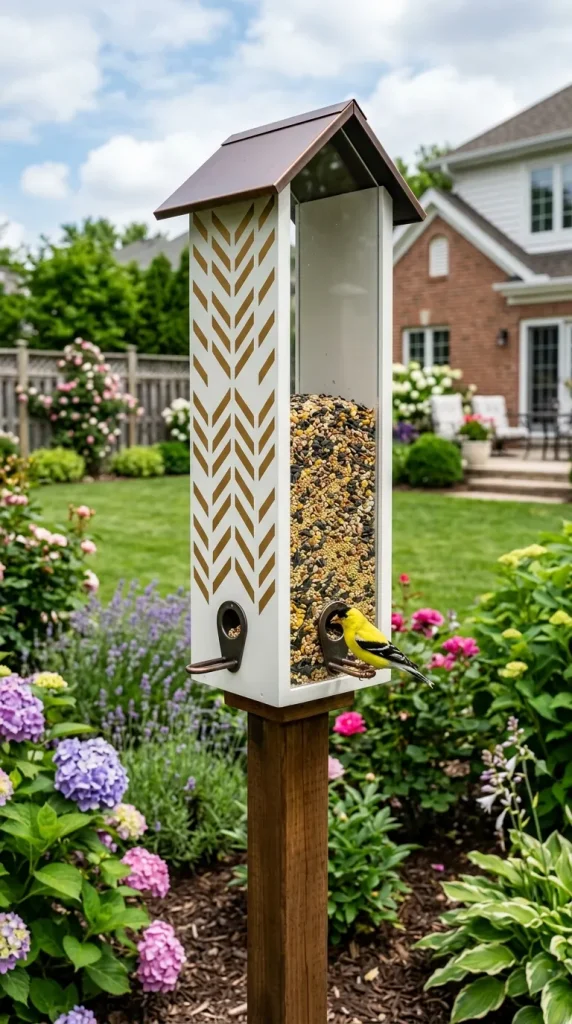
Achieve a highly continuous, modern architectural look across a suburban garden layout by constructing a sleek chevron-accented hopper feeder. Build an upright rectangular tower featuring two opposing walls made of transparent acrylic plexiglass sheets held in place by grooved wood tracks. Paint the solid wooden side panels in a clean, crisp matte white, adding a bold, stenciled geometric chevron arrow pattern down the sides using a warm metallic gold exterior paint. The clear front panels allow you to view the shifting grain colors inside, making your seed collection look weightless. This sophisticated concept delivers a luxury look that matches contemporary home design trends beautifully.
Common Avian Safety Mistakes and How to Avoid Them
When executing new DIY wooden painted bird feeder ideas, beginners frequently fail to consider critical bird safety protocols during the painting and assembly phases. A prominent and serious mistake is painting the interior surfaces, seed troughs, or inner hopper walls where bird food directly rests. Songbirds continuously peck and scratch at their food, which can cause them to ingest tiny flakes of loose paint or chemical residues, leading to accidental poisoning. To easily avoid this hazard, always enforce a strict workshop rule: keep all interior seed-contact surfaces completely raw, unpainted, and unsealed, applying your beautiful designs strictly to the outer walls and roof panels. Another frequent error is forgetting to drill adequate seed drainage holes through the bottom tray platforms. A flat tray without drainage turns birdseed into a soggy, stagnant pool after a heavy rainstorm, encouraging the rapid growth of toxic mold and bacteria that can make birds ill. Always drill a minimum of six tiny one-eighth-inch drainage holes through every lower tray base, keeping your birdseed perfectly dry, clean, and safe over time.
Styling, Presentation, and Long-Term Garden Maintenance
Maintaining a visually pristine and hygienic backyard feeding station relies entirely on implementing highly structured, disciplined cleaning systems and clean presentation rules. Group your extra bags of birdseed, scoop cups, and cleaning brushes inside a single matching weather-sealed lidded storage bench parked neatly near your garden patio. Choose a unified accent color scheme across your garden pottery and bird feeders—such as matching your feeder roofs to exclusively clip onto the accent tones of your backyard patio furniture—to guarantee visual harmony across your property. Keep your wooden feeders looking immaculate and safe by scrubbing the seed trays bi-weekly using a eco-friendly solution of nine parts warm water to one part white distilled vinegar, allowing the wood to air-dry completely under direct sunlight before refilling. These disciplined habits ensure your handmade projects remain highly functional, clean, and beautifully aligned with your broader lifestyle goals.
Creative Expansion and Advanced Inspiration
Once your primary painted wooden bird feeder configurations function perfectly, you can explore advanced technological and design integrations to further enhance your wildlife hobby. Consider installing a low-profile, solar-powered smart automated micro-camera system hidden inside the upper roof valance to capture high-definition close-up digital photography of visiting birds straight to your smartphone. You can integrate subtle, battery-operated LED motion-sensor safety lights along the underside of your mounting posts to deter nocturnal garden pests like raccoons without adding messy wire clutter to your lawn. Upgrading a simple tree-hanging layout into a comprehensive multi-feeder station mounted onto a single, centralized matte-black metal iron pole array featuring wrap-around squirrel baffles adds a luxurious, structural dimension to your landscaping. As your seasonal bird visitors transition throughout the calendar months, the modular nature of your removable acrylic panels and hanging hooks allows you to swap out seed types effortlessly, providing endless opportunities for ongoing design inspiration.