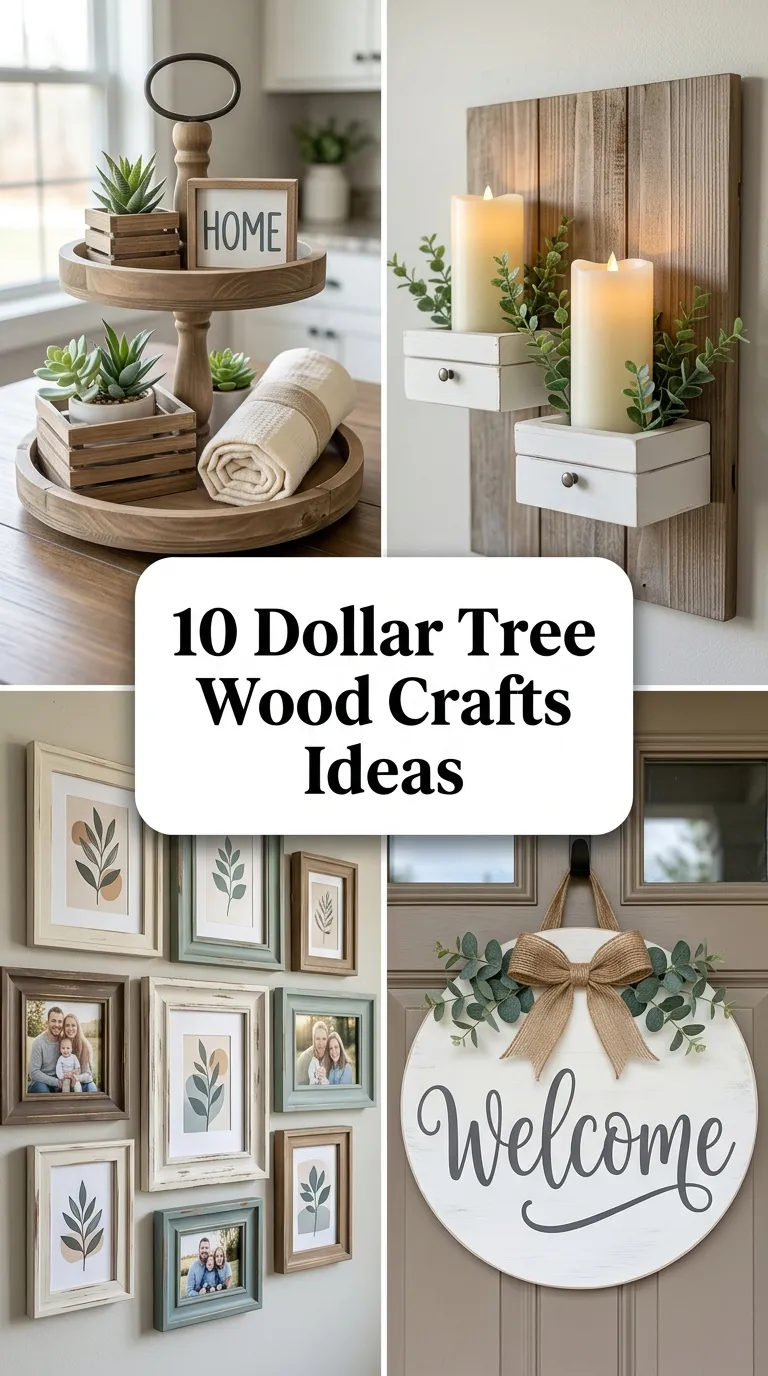
10 Dollar Tree Wood Crafts Ideas
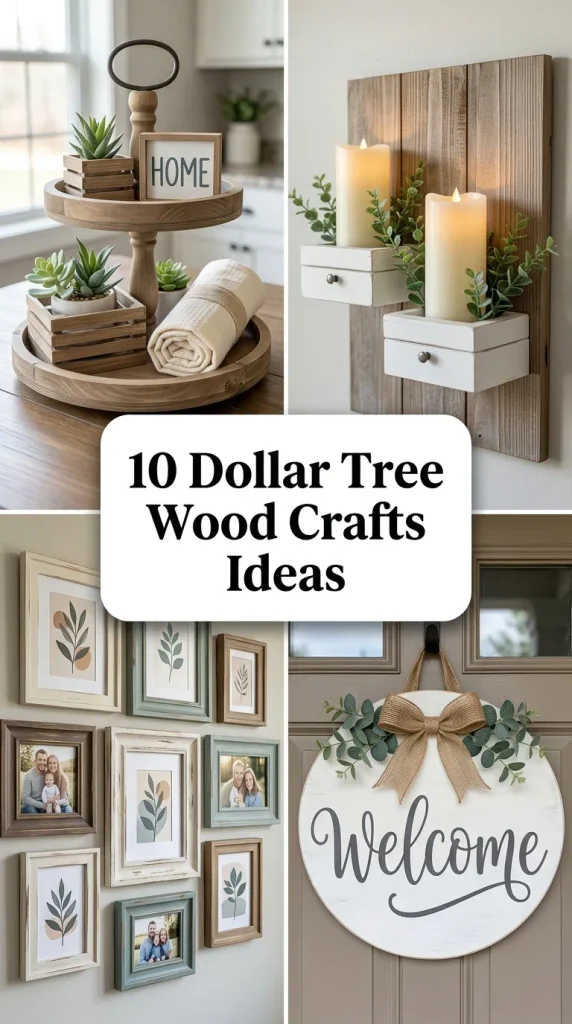
10 Dollar Tree Wood Crafts Ideas
Introduction
Crafting custom home accents with Dollar Tree wood supplies offers an affordable way to achieve high-end boutique aesthetics on a strict budget. Unfinished wooden blanks, tumbling tower game blocks, craft dowels, and wooden bead packs serve as versatile raw materials for stylish, functional decor pieces. This comprehensive guide outlines ten distinct DIY wood craft projects, focusing on simple assembly methods, wood staining techniques, durable adhesive bonding, and modern styling. Readers will learn the core fundamentals of leveling craft blocks, creating faux stain finishes, securing joints with wood glue, and adding clean hardware details. Mastering these accessible crafting techniques allows makers to elevate basic discount store materials into durable, elevated home accents for any interior space.
Why This Idea Is Trending or Useful
Dollar Tree wood crafts continue to trend widely across modern DIY platforms because they provide substantial creative value at minimal financial expense. Modern crafters actively seek practical projects that replicate expensive farmhouse, Scandinavian, or mid-century modern home accessories without requiring specialized woodworking workshops. For beginners and experienced makers alike, these accessible wood crafts serve as a low-risk entry point to practice sanding, staining, and geometric construction. Because individual wood blanks, crates, and tumbling blocks cost only a few dollars, anyone can produce personalized tabletop risers, wall sconces, and functional organizers. This craft approach demonstrates that thoughtful construction, neutral color palettes, and clean finishes can transform humble discount materials into long-lasting home decor.
Materials and Preparation
Achieving clean, polished results with budget wood items requires careful material inspection, proper surface preparation, and the right adhesive strategy. Essential tools include fine-grit sandpaper (120 and 220 grit) to smooth rough factory edges, wood glue paired with a rapid-set hot glue gun for instant yet permanent bonding, a ruler, and foam applicator brushes. Gather core Dollar Tree supplies such as wooden tumbling tower blocks, small wooden crates, craft dowels, round wooden plaques, and unfinished cutouts. Begin by sanding all raw wood surfaces smooth and wiping away loose sawdust with a damp cloth. Test your stains or acrylic paint washes on scrap pieces to confirm color depth before assembling the main structural components.
Main Ideas Section
Idea 1: Farmhouse Tumbling Block Pedestal Riser
How to Create
Gather thirty-two wooden tumbling tower blocks and arrange them into a solid rectangular platform measuring four blocks wide by eight blocks long. Apply a continuous bead of wood glue between all connecting sides, clamping the perimeter tightly with painter tape until fully cured. Once dry, sand the top surface flat with 220-grit sandpaper to eliminate uneven seams. Flip the platform over and glue four round wooden craft beads to the bottom corners to serve as raised pedestal feet. Apply a coat of walnut wood stain or a diluted brown acrylic paint wash across the entire piece, wiping away excess pigment with a clean rag. Place the finished riser on a kitchen countertop to elevate hand soap dispensers, small potted succulents, or ceramic salt cellars.

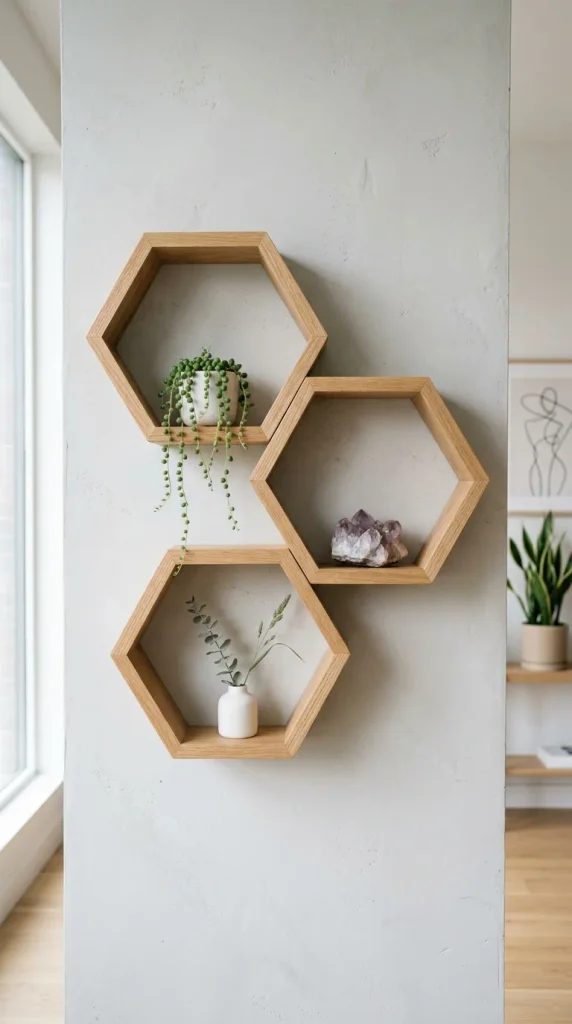
Idea 2: Geometric Hexagon Floating Wall Shelf
Setup Method
Collect six identical wooden craft tumbling blocks or small wood craft slats to form a single hexagonal unit. Bevel the adjoining ends slightly with sandpaper or align them flat into a six-sided polygon on a flat work surface. Secure each joint using a combination of fast-bonding hot glue for an immediate hold and wood glue for long-term structural durability. Repeat this process to create three separate matching wooden hexagons. Stain the shelves in a warm natural oak finish, then glue the three geometric units together in a honeycomb cluster. Mount the cluster securely to the wall using discreet sawtooth picture hangers attached to the back. Use the shelves to display mini faux plants, crystals, or small ceramic keepsakes.
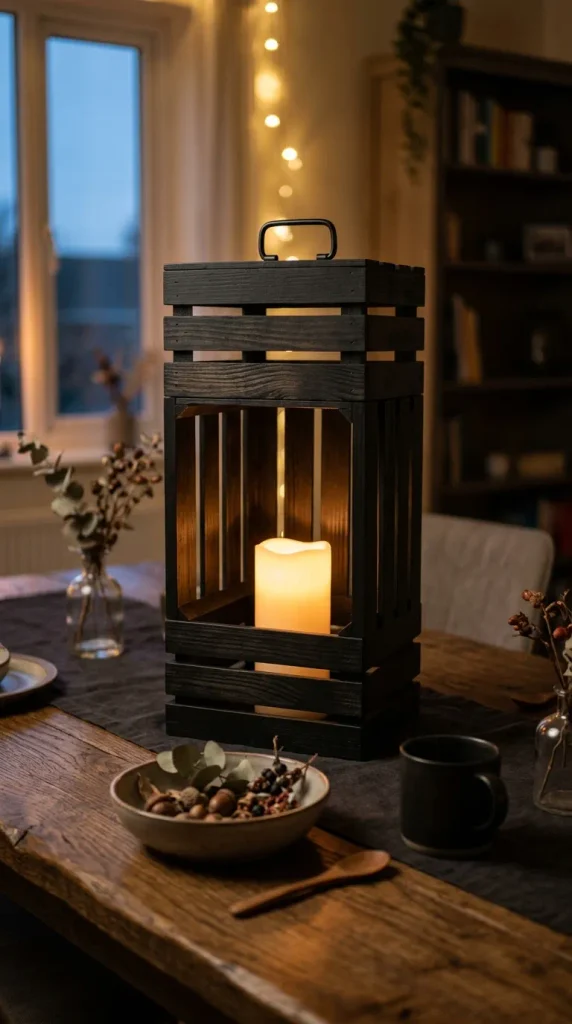
Idea 3: Modern Slatted Wood Crate Lantern
Step-by-Step Guide
Take two identical mini wooden crates from the Dollar Tree craft section and remove the bottom panel from one crate using a craft knife or small handsaw. Stack the open-bottom crate directly on top of the intact crate, aligning the slatted side walls perfectly to create a tall, vertical lantern structure. Secure the two crates together using wood glue along the adjoining rims and clamp firmly until dry. Sand all exterior slats smooth, then apply a coat of matte black acrylic paint or dark espresso stain for a sleek modern look. Place an LED battery-operated pillar candle inside the base and top the lantern with a small black metal pull handle screwed into the upper frame for functional tabletop ambiance.
Idea 4: Minimalist Arch Picture Frame Stand
Execution Process
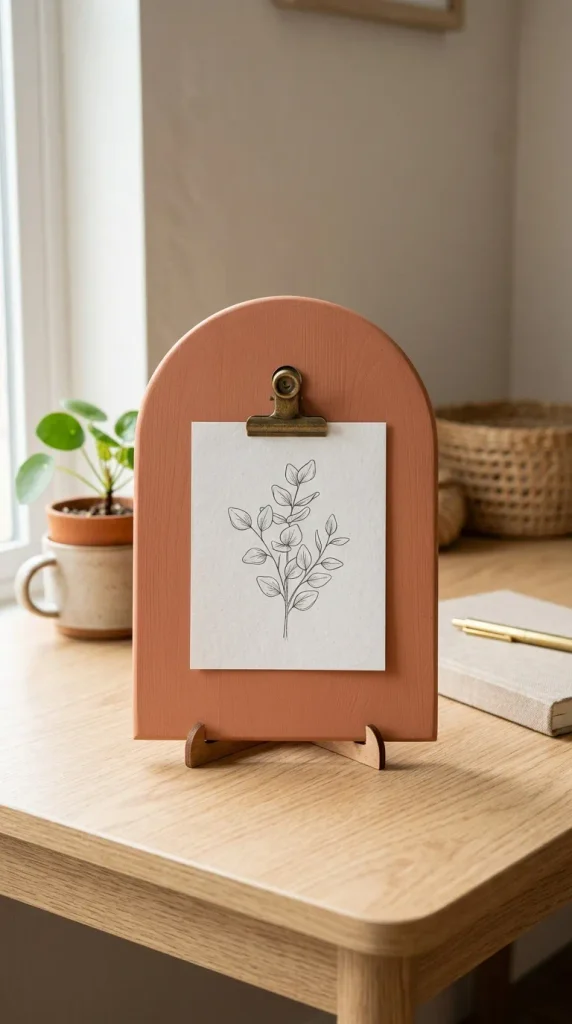
Take a flat, arched wooden craft plaque and sand the perimeter smooth with fine-grit sandpaper. Cut a small two-inch wooden craft block from a tumbling tower piece and glue it perpendicular to the bottom back edge of the arch to serve as a sturdy balancing kickstand. Paint the arched surface in a soft, chalky neutral tone like warm beige, terracotta, or sage green using two thin coats of matte acrylic paint. Attach a small antique brass bulldog clip or binder clip to the upper center of the arched plaque using heavy-duty craft adhesive. Clip a favorite printed photo, inspirational quote, or mini botanical print onto the stand, producing an elegant, interchangeable tabletop photo display for desks and side tables.
Idea 5: Beaded Wooden Loop Trivet
How to Make
Collect twenty-four large natural wooden craft beads and a length of sturdy cotton cord or floral craft wire measuring approximately eighteen inches long. Thread the wooden beads onto the cord in a continuous line, ensuring the beads sit snugly against one another without visible gaps. Pull the ends of the cord tightly together to form the beads into a circular geometric ring, knotting the ends securely with a tight double knot. Dab a drop of clear craft glue onto the knot and tuck the loose thread tails inside an adjacent bead hole to conceal the raw ends. Leave the wood raw for a minimalist Scandinavian aesthetic or brush with mineral oil to protect the surface, creating a heat-resistant trivet for teapots and warm serving bowls.

Idea 6: Rustic Pallet-Style Coaster Set
Step-by-Step Guide
Create a miniature wooden pallet coaster by laying four tumbling tower blocks flat in a square frame to form the internal base supports. Glue five additional wooden blocks horizontally across the top face with small, evenly spaced gaps between each slat to mimic an authentic shipping pallet. Repeat the construction process to assemble a set of four matching wooden coasters. Sand all edges thoroughly to remove splinters, then apply a weathered gray or antique walnut wood stain across all surfaces. Finish each coaster with a light coat of clear matte polyurethane spray to seal the wood against drink moisture and condensation. Wrap the finished set with natural jute twine for a polished, gift-ready presentation.

Idea 7: Tiered Desk Organizer Caddy
Setup Method
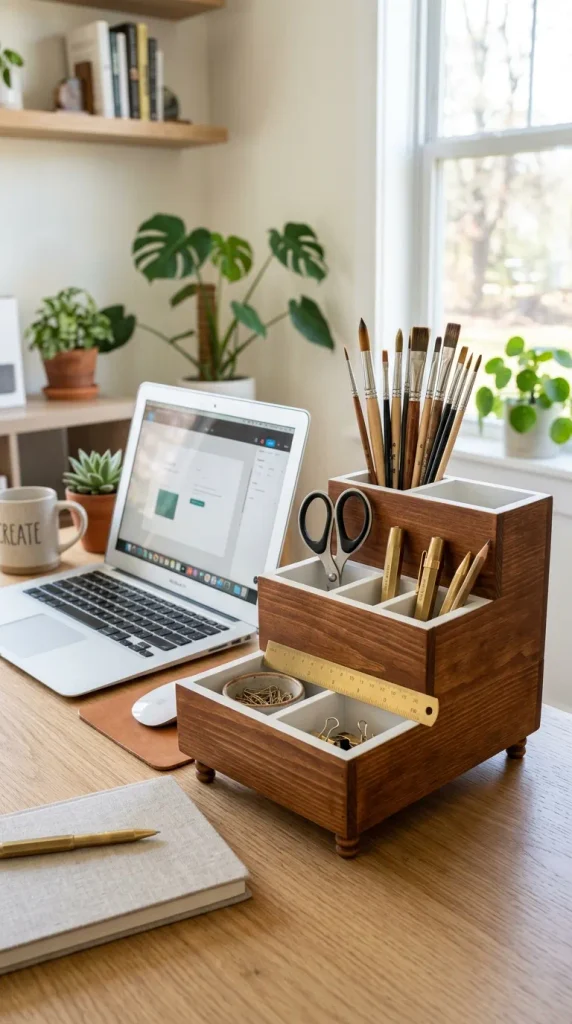
Gather three small rectangular wooden craft boxes or shallow crates of varying heights. Sand the exterior surfaces smooth and align them side-by-side in ascending order from shortest to tallest. Apply wood glue along the adjoining side walls and clamp the boxes together until the bond fully sets. Stain the outer box walls in a rich chestnut finish while painting the interior compartments in a contrasting crisp white for modern visual depth. Glue four small wooden split-bead feet to the underside of the combined base. Use the finished multi-compartment caddy on a desk or craft table to organize pens, paintbrushes, scissors, and small stationary essentials neatly in one compact, stylish unit.
Idea 8: Scandi Wood Bead Sconce Hanger
Execution Process
Take a six-inch wooden craft dowel and drill a small pilot hole half an inch from each end. Thread a thirty-inch length of natural leather cord or macrame rope through a series of fifteen round wooden beads. Feed the cord ends through the drilled holes of the dowel, securing them tightly underneath with stopper knots. Screw a simple metal wall hook into your wall and hang the beaded cord loop over the hook, allowing the wooden dowel to extend horizontally from the wall like a structural bracket. Suspend a lightweight glass bud vase or a hanging plug-in pendant cord around the dowel. This project delivers an airy, Scandinavian-inspired wall sconce that introduces clean geometric lines and functional accent lighting.

Idea 9: Carved-Look Aztec Wood Block Sign
How to Make
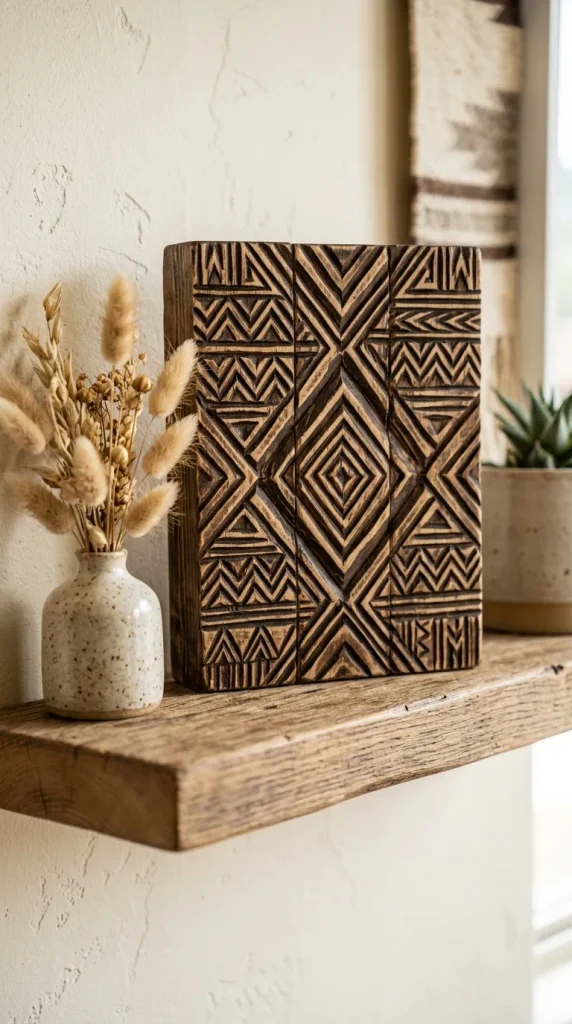
Arrange twelve tumbling tower blocks into a solid rectangular plaque, gluing the long edges together with wood glue on a flat, wax-paper-covered surface. Once completely dry, use a metal ruler and a fine-point embossing stylus or wood-burning tool to press geometric chevron and diamond patterns into the soft wood surface. Apply a rich coat of dark walnut stain over the entire textured surface, allowing the pigment to settle deeply into the carved geometric grooves. Gently wipe the raised surface areas with a lightly dampened cloth to reveal high-contrast highlights along the pattern edges. Mount the finished plaque inside a small thrifted frame or prop it on a floating shelf as a textured, Southwestern-inspired accent piece.
Idea 10: Slatted Plant Stand with Hairpin Dowel Legs
How to Create
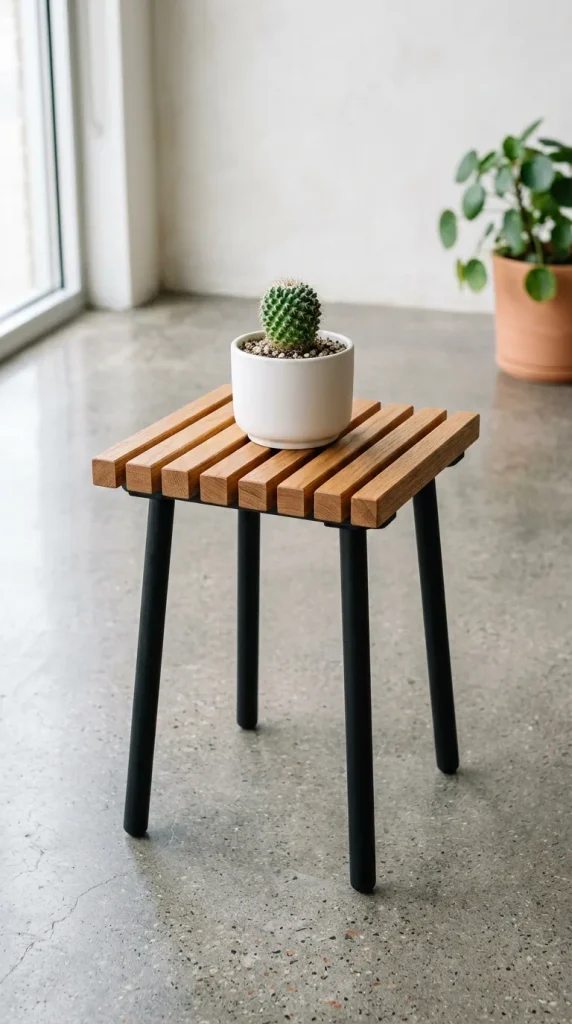
Glue eight tumbling tower blocks side by side on a flat surface to create a square slatted platform top, reinforcing the underside by gluing two cross-brace blocks perpendicular to the slats. Cut four matching four-inch lengths from a half-inch thick wooden craft dowel to serve as structural stand legs. Sand the cut ends at a slight five-degree bevel so the legs splay outward subtly when attached. Secure each dowel leg into the four bottom corners of the reinforced wooden platform using wood glue and small drops of hot glue for rapid hold. Paint the legs in matte black to mimic mid-century hairpin metal and stain the top platform in warm oak. Place small potted succulents or cacti atop the elevated modern stand.
Common Beginner Mistakes and How to Avoid Them
A frequent beginner mistake when crafting with Dollar Tree wood is failing to sand the rough, splintered edges before applying paint or stain. Budget craft wood often has manufacturing burrs and uneven grain that absorb stain blotchily if left unprepared; always sand all surfaces with medium- and fine-grit sandpaper first. Another common error is relying entirely on standard hot glue for load-bearing joints. Hot glue provides a quick initial hold but can snap easily under weight or temperature fluctuations; always pair hot glue with yellow wood glue for permanent, durable structural bonds. Additionally, avoid applying thick, undiluted acrylic paint directly over textured wood grain, which obscures the natural organic look; thin your paint with water to create an authentic, semi-translucent wood wash.
Practical Tips for Better Results
To achieve high-end, professional results with discount wood pieces, always pre-sort your blocks and blanks before beginning assembly. Discount craft packs often contain slight variations in block thickness; grouping identically sized blocks together ensures flat, seamless joints across larger flat surfaces like pedestals and coasters. Use blue painter tape as a flexible clamp to hold glued blocks tightly together while the wood glue cures over several hours. When staining small wooden pieces, apply your stain or paint wash using a foam brush and immediately buff away the excess with a lint-free cotton cloth to prevent sticky, uneven buildup. Finally, seal all functional items like coasters and plant stands with a clear water-resistant topcoat to safeguard the porous wood against water rings and stains.
Styling, Presentation, or Organization Ideas
Integrating handmade wooden crafts seamlessly into your home requires thoughtful visual pairing with complementary textures and materials. Display wooden block risers on kitchen counters or bathroom vanities alongside glossy ceramics, clear glass dispensers, and fresh greenery to balance warm organic timber with clean reflective surfaces. Use geometric wood shelves on neutral painted walls, styling them with minimal, uncluttered items to let the intricate woodwork remain the visual focal point. Group small slatted lanterns and wooden bead trivets together on a coffee table or dining buffet to establish a cohesive, textured vignette. Keeping your styling simple and deliberate ensures your budget-friendly wooden crafts look like curated, expensive home boutique acquisitions.
Budget or Time Planning
Crafting with Dollar Tree wood components is exceptionally cost-effective, making it ideal for budget-conscious decorators and weekend craft enthusiasts. Most individual projects featured in this guide cost between two and five dollars in total materials, as a single pack of tumbling blocks or wood beads provides enough pieces for multiple projects. Basic tools like sandpaper, wood glue, and craft paint last across dozens of DIY builds, keeping overall crafting expenses minimal. In terms of time commitment, each of these beginner-friendly projects takes roughly twenty to forty minutes of hands-on assembly time. Allocate an extra hour for glue curing and stain drying before styling the finished pieces in your living spaces.
Creative Expansion and Advanced Inspiration
Once you master basic block assembly and staining techniques, expand your craft projects by integrating mixed-media accents into your wood designs. Experiment with applying metallic gold leaf or crisp geometric stencils across stained wooden surfaces to create modern two-tone contrast. Combine wooden tumbling blocks with clear glass test tubes to construct minimalist hydroponic plant propagation stations for window sills. You can also explore wood burning techniques using an inexpensive pyrography pen to etch custom botanical illustrations or personalized family names onto your wooden risers and signs. Exploring these creative avenues allows you to transform simple discount store craft supplies into elevated, one-of-a-kind functional art for your home.