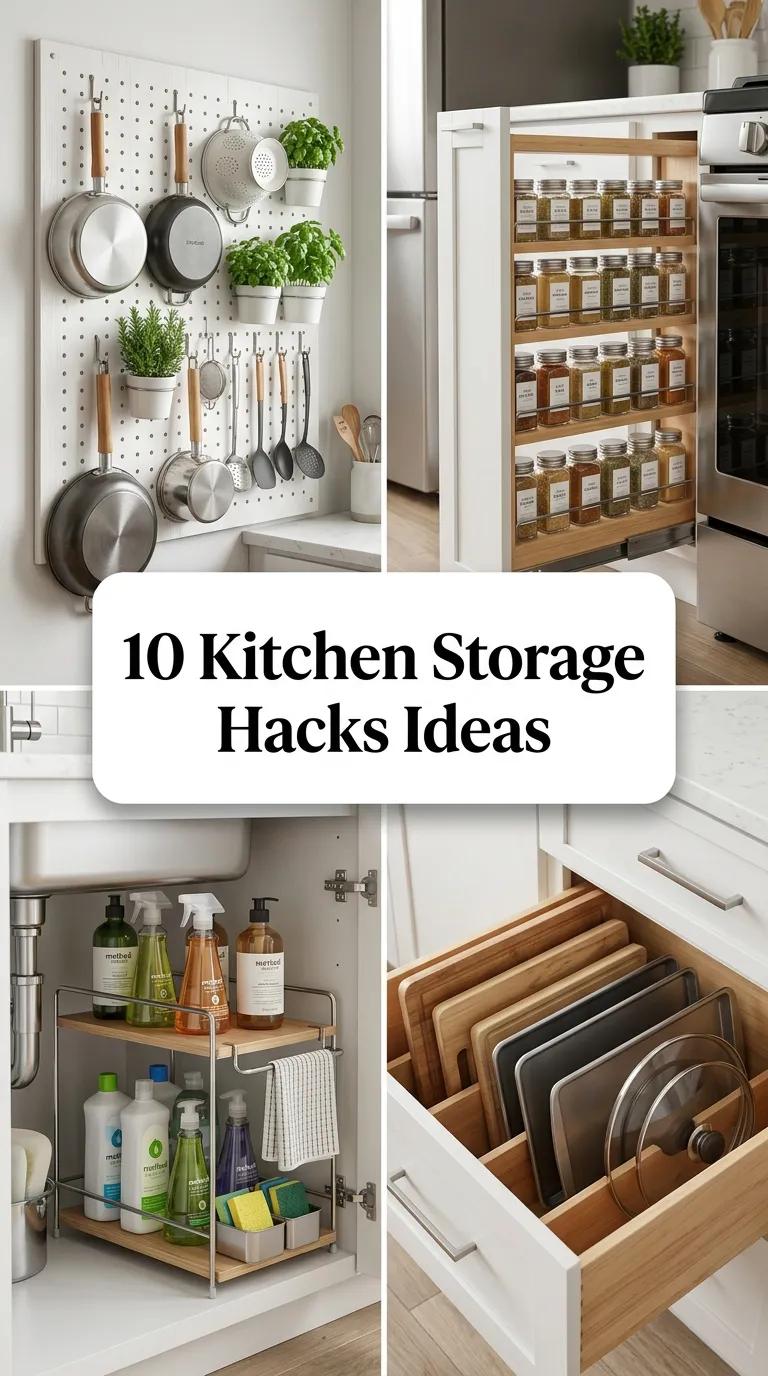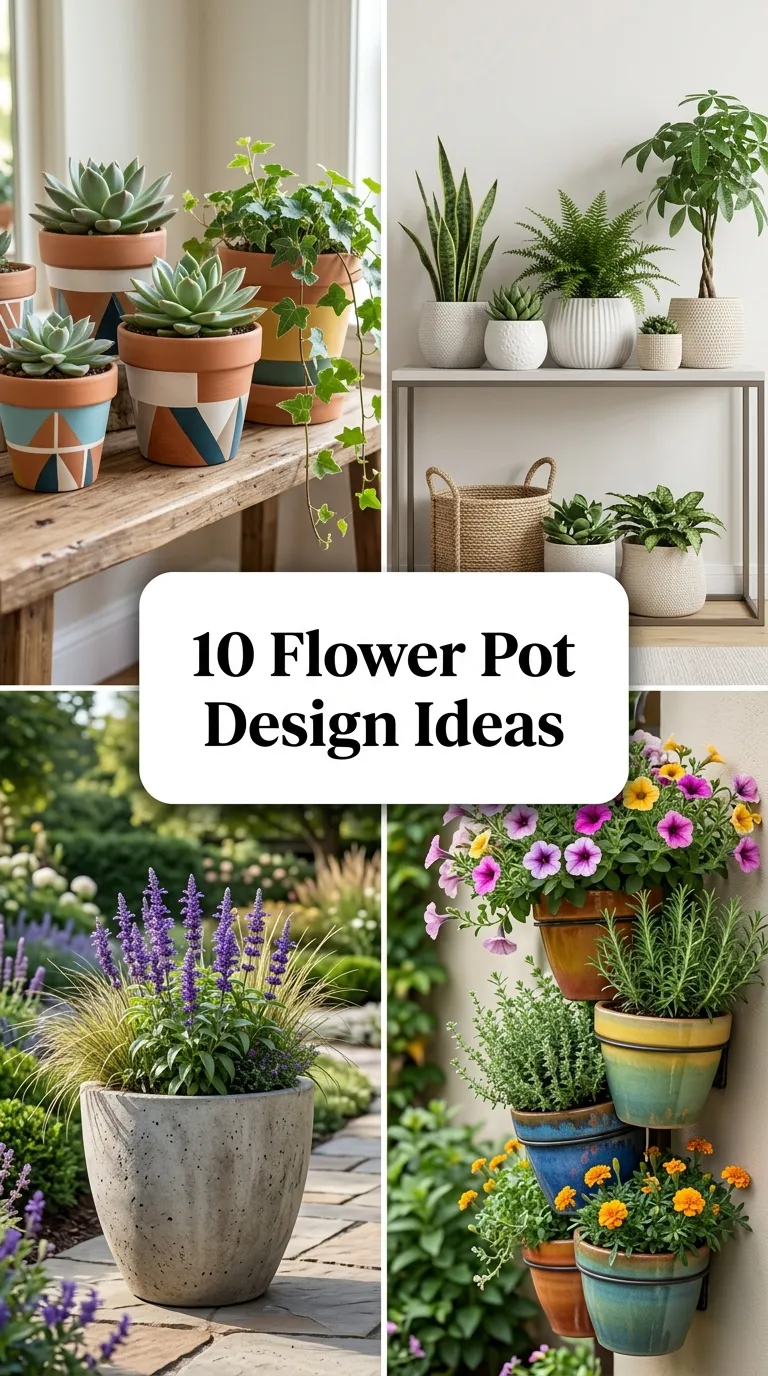
10 Flower Pot Design Ideas
10 Flower Pot Design Ideas
Introduction
Elevating plain planters with intentional decorative designs transforms everyday houseplants into sculpted artistic focal points. A well-crafted flower pot bridges the gap between botanical life and interior decor, anchoring window sills, garden patios, and tabletop displays. This comprehensive guide details ten distinct flower pot design ideas, focusing on accessible surface techniques, moisture-resistant materials, drainage considerations, and balanced color styling. Readers will learn the core fundamentals of applying texture pastes, sealing porous terracotta, using geometric masking methods, and creating artisanal faux stone finishes. Applying these practical customization techniques eliminates repetitive, mass-produced plastic planter aesthetics while ensuring your indoor and outdoor botanicals thrive in stylish, durable containers tailored to your space.
Why This Idea Is Trending or Useful
Custom flower pot decorating continues to trend widely across home improvement platforms because it offers maximum visual reward with minimal financial investment. Modern homeowners seek personalized, cohesive decor accents that allow easy coordination with shifting seasonal aesthetics without replacing expensive permanent furniture. For craft enthusiasts and beginners alike, planter styling provides a low-risk, versatile canvas to experiment with paint blending, clay modeling, mosaic work, and fiber wrapping. Upcycling basic thrifted vessels or inexpensive terracotta pots allows makers to craft boutique-quality plant containers at a fraction of retail prices. These practical methods emphasize durable weatherproofing, functional root health, and creative material pairing that keep home greenery vibrant and stylish.
Materials and Preparation
Achieving clean, durable planter designs requires proper surface preparation, structural cleaning, and selecting the right moisture-tolerant supplies. Essential tools include fine-grit sandpaper (150 and 220 grit) to smooth rough ceramic edges, foam brushes, painter tape for crisp paint masking, and a waterproof clear acrylic sealer spray. Gather core materials such as plain terracotta pots, air-dry clay, acrylic multi-surface paints, baking soda for texture blending, ceramic tile adhesives, and natural jute cords. Begin by thoroughly washing and scrubbing raw pots to remove dust, manufacturing oils, or soil residues. Allow porous clay pots to dry completely for twenty-four hours, then apply an internal coat of waterproofing sealant to prevent exterior paint bubbling.
Main Ideas Section
Idea 1: Textured Chalky Terracotta Limewash
How to Create
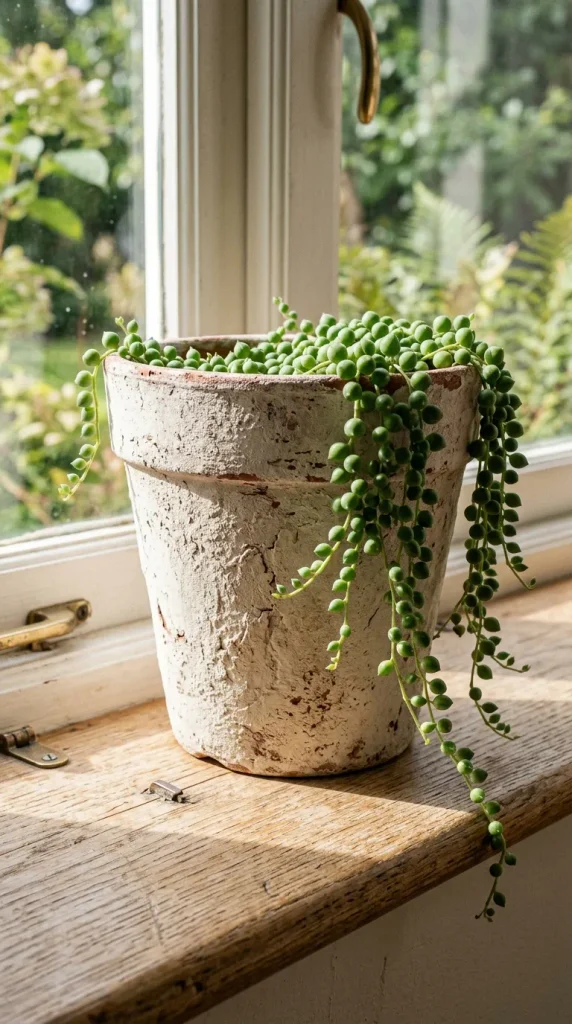
Mix two parts matte white or soft beige acrylic paint with one part baking soda and a splash of water to form a thick, gritty paste. Using a wide, stiff-bristled utility brush, apply the textured paste across a standard terracotta pot in broad, crosshatched strokes to mimic old-world plaster. Before the first coat dries completely, dab a damp sea sponge across the surface to knock down sharp ridges and reveal subtle glimpses of the warm terracotta beneath. Allow the textured layer to cure for four hours, then apply a second ultra-thin wash of diluted taupe paint to accentuate surface fissures. Finish with a matte exterior clear coat to protect the chalky texture against water splashes during regular plant watering routines.
Idea 2: Geometric Color-Blocked Pastel Duo
Setup Method
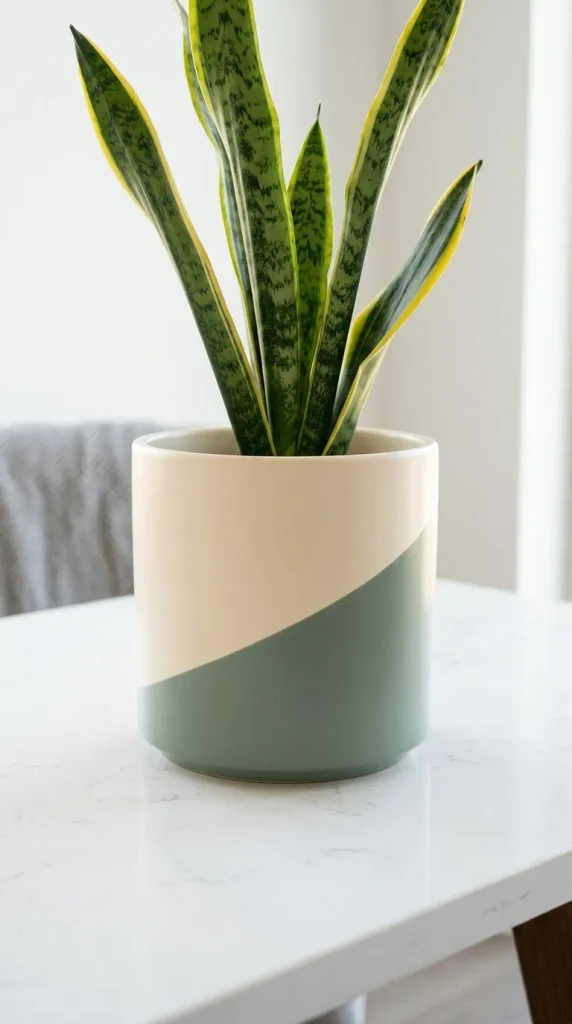
Sand the exterior of a smooth ceramic or plastic cylinder pot with fine 220-grit sandpaper to promote strong paint adhesion. Wipe the surface clean and apply a base coat of warm cream multi-surface satin paint, letting it dry for two hours. Apply a strip of low-tack blue painter tape diagonally around the lower half of the pot, pressing the tape edge down firmly with a credit card to prevent paint bleed. Paint the masked lower section with two coats of dusty sage green or terracotta peach paint. Peel the tape away slowly at a sharp forty-five-degree angle while the second coat is still slightly tacky. Seal the finished two-tone geometric container with a satin clear spray.
Idea 3: Organic Fluted Clay Relief Planter
Step-by-Step Guide
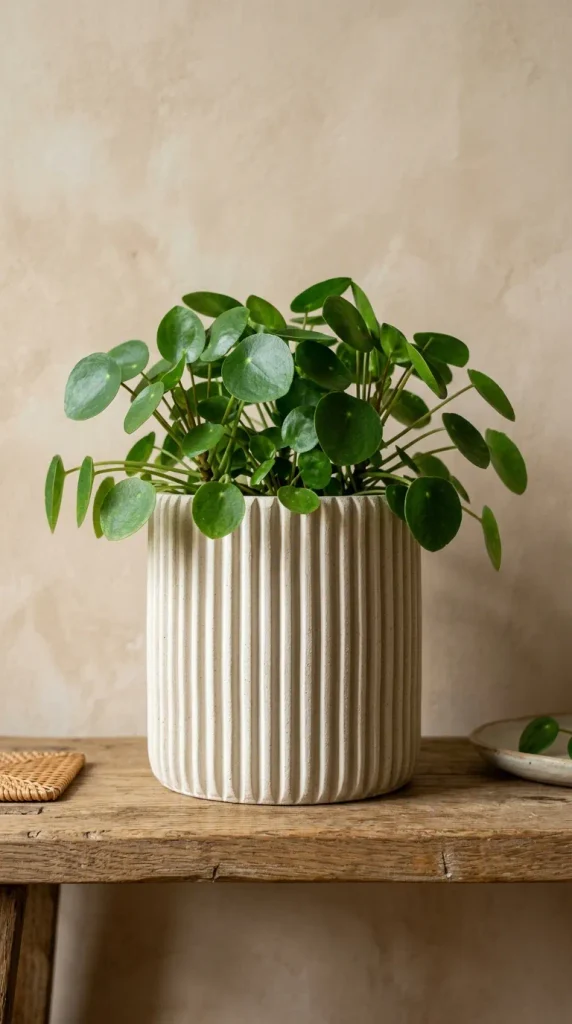
Condition a block of terracotta or white air-dry modeling clay until soft and pliable. Roll the clay into several dozen uniform half-inch thick coils using the palms of your hands against a clean, flat surface. Apply a thin layer of heavy-duty craft glue or epoxy adhesive vertically along the outside wall of a basic cylindrical flower pot. Press the clay coils vertically side by side around the entire perimeter of the pot, trimming excess length flush with the top and bottom rims using a craft knife. Smooth the seam transitions along the top lip with a wet fingertip. Allow the clay flutes to cure fully for forty-eight hours, then seal with water-resistant varnish for a trendy fluted silhouette.
Idea 4: Faux Travertine Stone Sponge Finish
Execution Process
Coat a lightweight plastic or resin flower pot with a solid base layer of warm sand-colored matte exterior paint. Mix three small accent glaze colors in separate dishes: pale ivory, muted umber, and charcoal gray, thinning each paint with a small amount of water. Dip a natural sea sponge lightly into the ivory glaze, blotting excess on paper towels, and dab softly over the base coat to create mottled stone clouds. Repeat the sponge stippling using the darker umber and gray tones sparingly, concentrating colors around the pot base to simulate natural mineral sedimentary layers. Use a toothbrush to flick tiny speckles of dark paint across the surface, completing an authentic, lightweight faux travertine stone planter.

Idea 5: Minimalist Dipped Concrete and Gold Leaf
How to Make
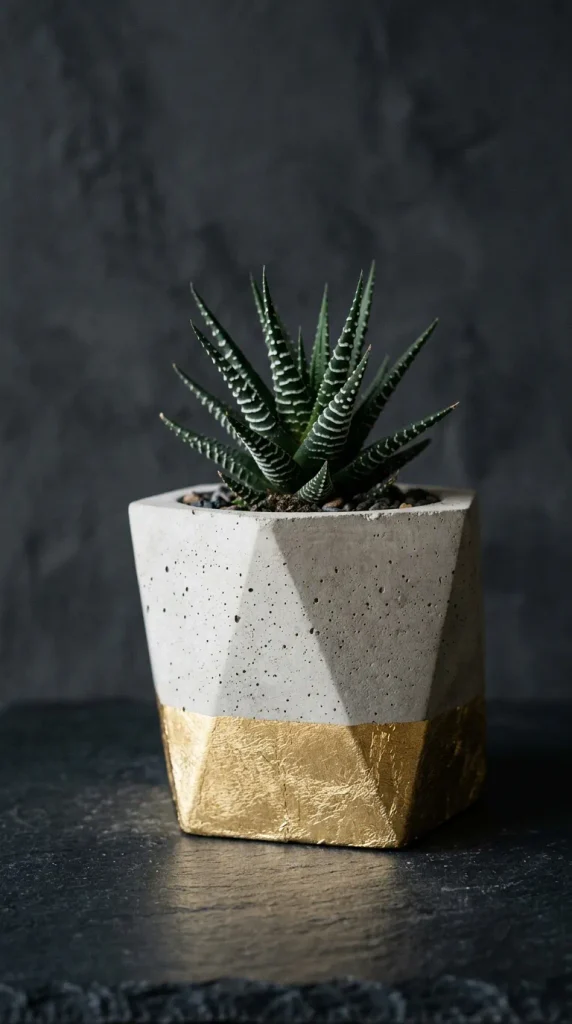
Wipe down a smooth cast-concrete geometric planter to remove all fine dust particles. Wrap a band of painter tape horizontally around the top rim, leaving the lower third of the concrete pot exposed. Apply a thin, even coat of gold leaf adhesive size to the bottom exposed section with a soft brush and wait fifteen minutes until it turns clear and tacky. Carefully lay sheets of imitation gold leaf over the tacky area, smoothing the delicate metal down with a dry, fluffy makeup brush. Remove the painter tape cleanly and brush away loose gold flakes using gentle outward strokes. Apply a clear water-based sealer over the gold leaf to prevent metallic tarnishing from outdoor moisture.
Idea 6: Bohemian Wrapped Jute Rope Coil
Step-by-Step Guide
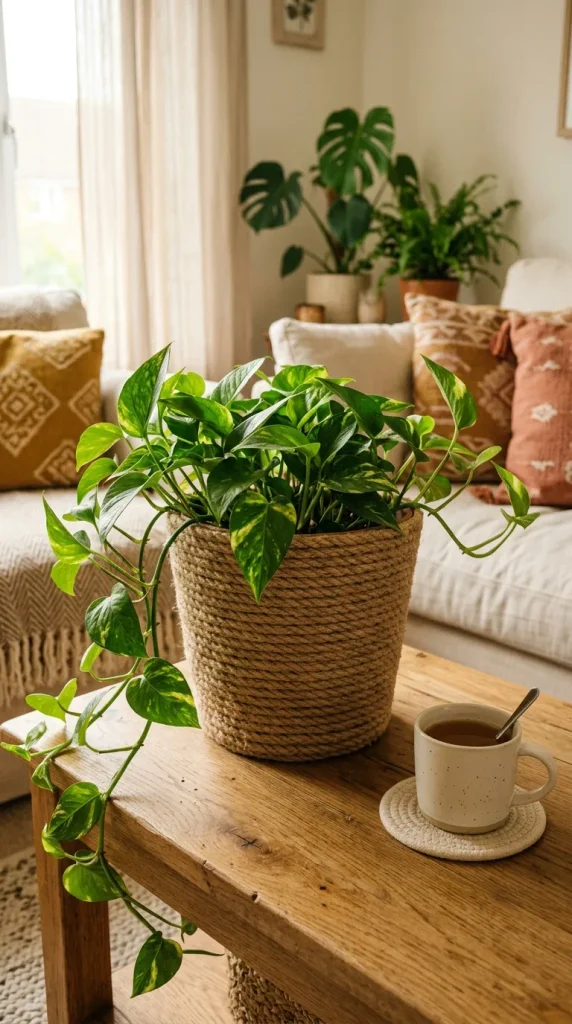
Take an inexpensive plastic flower pot and invert it on a flat work table. Apply a continuous bead of high-temperature hot glue or contact adhesive along the bottom base rim, pressing the end of a thick natural jute rope firmly into the glue. Slowly rotate the pot while coiling the rope tightly upward around the container walls, applying glue every two inches to ensure a gap-free bond. Continue coiling until the rope reaches the upper lip of the pot, trimming the rope end at a sharp diagonal angle and gluing it flush inside the top rim. Accent the top edge with hanging wooden beads or yarn tassels for an organic, textured boho basket planter.
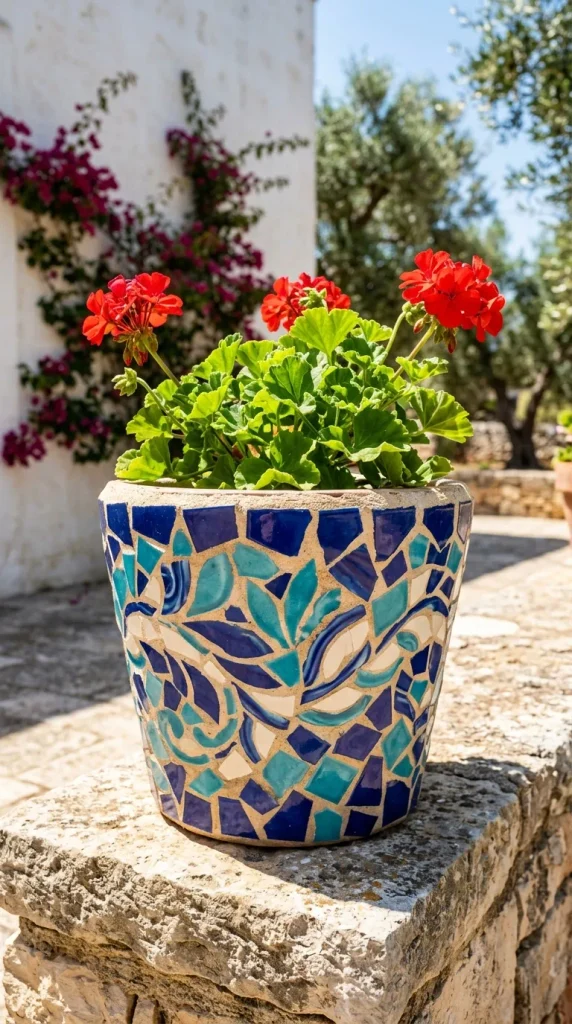
Idea 7: Mediterranean Mosaic Tile Fragment Vessel
Execution Process
Gather broken ceramic plates, leftover porcelain mosaic tiles, or tumbled sea glass sorted into harmonizing shades of cobalt blue, turquoise, and white. Spread a quarter-inch layer of premixed waterproof tile adhesive across the exterior of a sturdy terracotta or concrete pot using a small notched trowel. Press the tile fragments firmly into the adhesive bed, leaving an even one-eighth-inch gap between all edges to form an organic mosaic pattern. Allow the adhesive to cure for twenty-four hours. Spread white or sand-colored sanded tile grout over the entire surface with a rubber float, packing the joints firmly. Wipe away excess haze with a damp sponge and seal the grout lines with penetrative sealer.
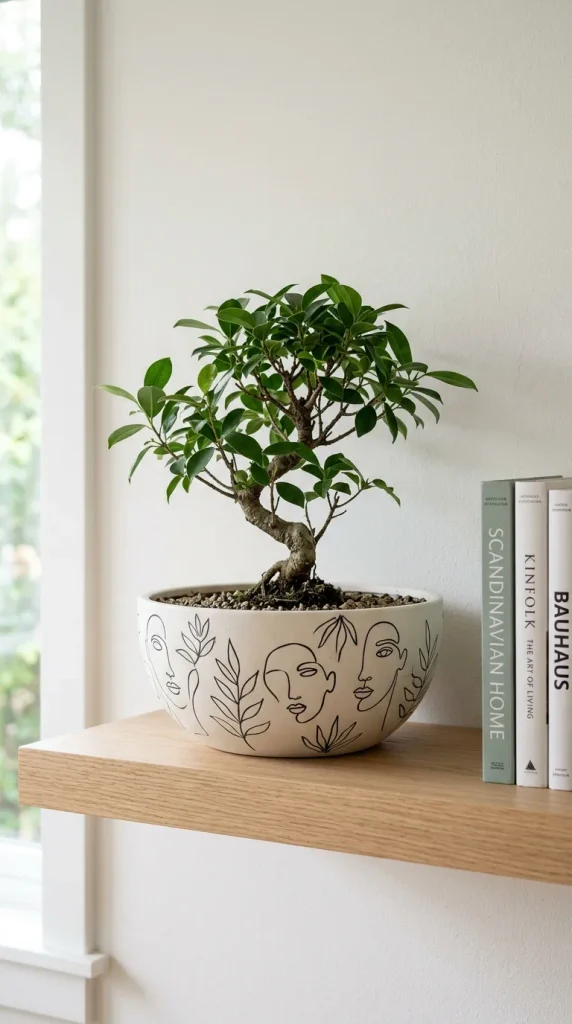
Idea 8: Hand-Painted Modern Line Art Silhouette
How to Make
Paint the entire exterior of a wide round ceramic bowl pot with two coats of ultra-matte off-white chalk paint to create a clean, non-reflective backdrop. Use a soft graphite pencil to sketch fluid, continuous abstract facial profiles or minimalist botanical leaf silhouettes around the curved body of the pot. Trace over the pencil lines using a fine-tip black acrylic paint pen or a thin liner brush loaded with waterproof black ink, maintaining consistent line thickness throughout the drawing. Allow the ink to dry completely for thirty minutes, then gently erase any visible pencil guidelines with a soft rubber eraser. Spray the finished vessel with a clear matte sealant to protect the modern graphic line art.
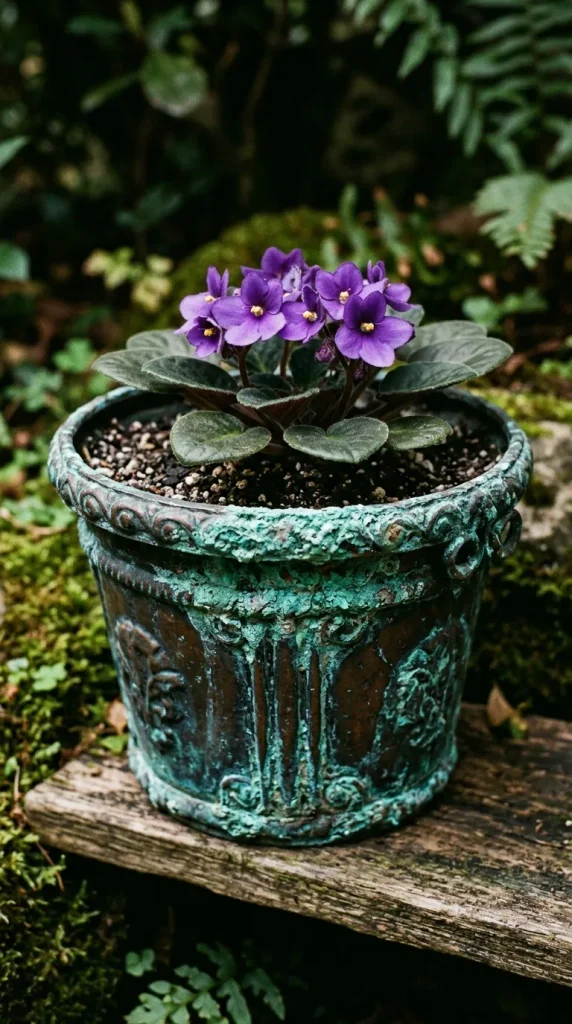
Idea 9: Aged Antique Copper Verdigris Patina
Setup Method
Apply two solid base coats of dark metallic bronze or copper acrylic paint over a smooth plastic or ceramic planter, allowing full drying between coats. Mix a vibrant verdigris patina solution using equal parts seafoam green paint, sky blue paint, and matte glazing medium. Dab the verdigris mixture irregularly across the pot surface with a crumpled rag, concentrating the pigment inside recessed rims, grooves, and the lower base where natural weathering occurs. Immediately dab the wet edges with a dry cloth to soften transitions and reveal the metallic bronze underlayer. Dust a small pinch of baking soda into the wet paint crevices to create crusty, realistic oxidized mineral buildup before sealing.
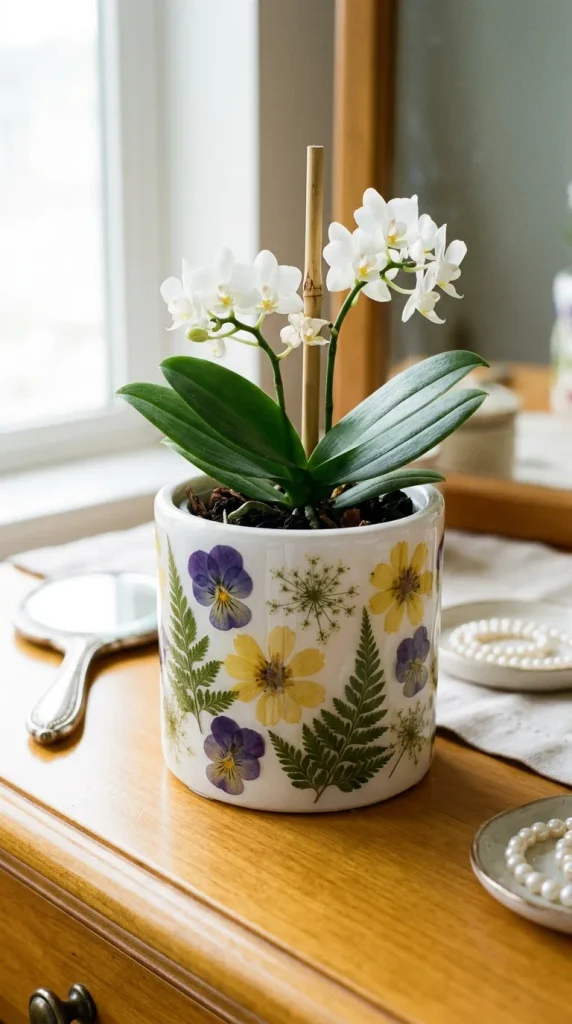
Idea 10: Botanical Pressed Flower Resin Decoupage
How to Create
Collect delicate, fully dried pressed flowers, such as mini violas, cosmos petals, ferns, and baby breath sprigs. Paint a plain white ceramic pot with a smooth, even base coat of white satin paint and let dry completely. Apply a thin layer of outdoor decoupage medium or clear craft glue directly to the pot surface, then carefully arrange the pressed botanical specimens on top using tweezers. Gently brush a second smooth layer of decoupage medium over the petals from the center outward to eliminate air bubbles and seal the delicate plant fibers flat against the curve. Once cured, apply a thin coat of clear UV-resistant epoxy resin or exterior clear varnish for a luminous, glazed botanical keepsake finish.
Common Beginner Mistakes and How to Avoid Them
A frequent beginner mistake when decorating plant pots is painting terracotta without sealing the inside walls, allowing watering moisture to seep through porous clay and bubble external paint layers. Always coat the interior of porous pots with liquid rubber, pot sealant, or waterproof acrylic spray before decorating the exterior. Another common error is blocking the bottom drainage hole with paint, thick ropes, or clay, which traps stagnant water and causes root rot in plants. Keep drainage openings clear by covering them with painter tape during the decorating process. Additionally, using interior craft paints without an exterior UV-resistant clear coat leads to fading, peeling, and chipping; always apply a dedicated water-resistant topcoat to finished designs.
Practical Tips for Better Results
To achieve long-lasting, professional finishes on custom flower pots, always prioritize surface grip through light sanding and proper priming. Lightly abrade glossy plastic and glazed ceramics with fine sandpaper to create mechanical tooth for paints and adhesives to grip effectively. Use flexible vinyl masking tape rather than standard paper tape when painting crisp lines on curved or tapered pot profiles, as vinyl stretches cleanly around contours without wrinkling. When designing planters for direct planting, elevate the inner soil layer with lightweight expanded clay pebbles to promote root aeration and drainage. Finally, choose paint formulations specified for multi-surface or masonry applications, which expand and contract naturally with temperature shifts across indoor and outdoor environments.
Styling, Presentation, or Organization Ideas
Integrating decorated flower pots seamlessly into your home requires thoughtful visual clustering and height variation. Group pots in odd numbers—such as trios of varying heights and matching palettes—on plant stands, credenzas, or window ledges to create balanced botanical arrangements. Pair smooth, geometric color-blocked pots with textured rope-wrapped or fluted clay planters to introduce tactile variety without visual chaos. Use matching shallow saucers or hidden internal nursery drip trays beneath decorative pots to protect wooden furniture from accidental drainage spills. When styling bookshelves, place smaller patterned pots alongside neutral hardbound books and ceramic bookends to create an organized, refreshing burst of living color within interior displays.
Budget or Time Planning
Customizing flower pots is an economical, highly satisfying craft that fits comfortably into modest budgets and brief weekend schedules. Basic terracotta pots cost between two and five dollars, while leftover house paints, craft ropes, and kitchen baking soda keep additional material costs under ten dollars total. Most individual planter projects take roughly thirty to forty-five minutes of hands-on crafting time. Allocate twenty minutes to prep and sand the pot surface, fifteen minutes for painting or clay application, and fifteen minutes for final sealing. Plan adequate drying intervals between coats—typically one to two hours for paints and twenty-four hours for clay and tile adhesives—before potting your favorite green plants.
Creative Expansion and Advanced Inspiration
Once you master foundational planter decorating techniques, explore advanced multi-media customization to produce truly unique botanical vessels. Experiment with creating textured architectural bases by combining custom poured-concrete pedestals with painted ceramic bowls for elevated mid-century modern styling. Incorporate subtle LED strip backlighting beneath raised saucer rims or inside macrame hangers to illuminate your potted plant silhouettes during evening hours. You can also explore marbling techniques using floating oil paints or hydro-dipping methods to produce swirling, high-gloss organic patterns across plain pots. Exploring these advanced decorative methods transforms basic functional plant pots into bespoke, gallery-worthy centerpieces that elevate any living space.